MeshCentral Setup for Agent Remote Access
Introduction:
MeshCentral is a powerful open-source remote management tool. This guide explains how to install and configure MeshCentral on an Ubuntu server using Apache, PHP, Node.js, and Let’s Encrypt SSL.
Prerequisites:
- Ubuntu 22.04/Ubuntu 24.04 server with sudo or root access
- A valid domain name (e.g. YOURDOMAIN.COM) pointing to your server
- Ports 80 (HTTP) and 443 (HTTPS) open
Note: Replace every instance of YOURDOMAIN.COM with your actual domain name throughout this guide.
Step 1: Prerequisites Installation
a. Update Your Server Packages
Make sure your system is up-to-date.
sudo apt update && sudo apt upgrade -y
b. Install Apache Web Server
Apache usually comes pre-installed on most servers. If not, install it manually:
sudo apt-get install -y software-properties-common
sudo add-apt-repository ppa:ondrej/apache2 -y
sudo apt update
sudo apt install -y apache2
sudo systemctl start apache2
sudo systemctl enable apache2
Once installed, verify Apache is running:
systemctl status apache2
c. Install PHP 8.2+
First, add the PHP repository:
sudo add-apt-repository ppa:ondrej/php -y
sudo apt update
Then install PHP 8.2 and required extensions:
sudo apt install -y php8.2 php8.2-curl
You can check the installed version:
php -v
d. Install Node.js and NPM
Use the official NodeSource repository for Node.js 22+:
curl -fsSL https://deb.nodesource.com/setup_22.x | sudo -E bash -
sudo apt install -y nodejs
Check versions:
node -v
npm -v
Step 2: Installing MeshCentral
Now that the server is ready, let’s install MeshCentral.
a. Create Installation Directory
mkdir -p /var/www/mesh && cd /var/www/mesh
npm init -y
npm install meshcentral
b. Configure MeshCentral
Create a data directory and configuration file:
mkdir meshcentral-data
cd meshcentral-data
nano config.json
Paste the below content in the config.json:
{
  "settings": {
    "cert": "YOURDOMAIN.COM",
    "WANonly": true,
    "port": 444,
    "aliasPort": 443,
    "redirPort": 81,
    "redirAliasPort": 80,
    "allowLoginToken": true,
    "allowFraming": true,
    "autoBackup": false,
    "IgnoreAgentHashCheck": true,
    "tlsOffload": "127.0.0.1"
  },
  "domains": {
    "": {
      "title": "Faveo RMM",
      "newAccounts": false,
      "certUrl": "https://YOURDOMAIN.COM",
      "siteStyle": 3
    }
  }
}
c. Create a Systemd Service
This will allow MeshCentral to start automatically at boot.
sudo nano /etc/systemd/system/meshcentral.service
Paste the below content in the service file:
[Unit]
Description=MeshCentral Server
After=network.target

[Service]
Type=simple
User=root
WorkingDirectory=/var/www/mesh
ExecStart=/usr/bin/node /var/www/mesh/node_modules/meshcentral
Restart=always
Environment=NODE_ENV=production

[Install]
WantedBy=multi-user.target
Then enable and start it:
sudo systemctl daemon-reload
sudo systemctl enable meshcentral
sudo systemctl start meshcentral
sudo systemctl status meshcentral
Step 3: Configure Apache Reverse Proxy for MeshCentral
We’ll now configure Apache to act as a reverse proxy, allowing MeshCentral to run securely behind Apache using HTTPS
a. Create Apache Configuration
Create a simple Apache config file for your domain. This ensures Certbot can verify the domain and issue certificates correctly.
Create and open a new config file:
sudo nano /etc/apache2/sites-available/meshcentral.conf
Add the following minimal HTTP block:
<VirtualHost *:80>
    ServerName YOURDOMAIN.COM
    ServerAdmin webmaster@localhost

    ErrorLog ${APACHE_LOG_DIR}/meshcentral-error.log
    CustomLog ${APACHE_LOG_DIR}/meshcentral-access.log combined
</VirtualHost>
Enable the site and restart Apache:
a2dissite 000-default.conf
sudo a2ensite meshcentral.conf
sudo systemctl restart apache2
b. Install Let’s Encrypt SSL
Now that the VirtualHost exists, install Certbot:
sudo apt install -y python3-certbot-apache
Issue the SSL certificate for your domain:
sudo certbot --apache -d YOURDOMAIN.COM
Once this step succeeds, you’ll have valid certificates stored in:
/etc/letsencrypt/live/YOURDOMAIN.COM/
c. Update Apache for Reverse Proxy
Now edit the same config (meshcentral.conf) to include the reverse proxy and WebSocket directives for MeshCentral:
sudo nano /etc/apache2/sites-available/meshcentral.conf
Paste the full HTTPS configuration (as shown earlier):
<IfModule mod_ssl.c>
<VirtualHost *:443>
    ServerName YOURDOMAIN.COM
    ServerAdmin webmaster@localhost

    ProxyRequests Off
    ProxyPreserveHost On
    RequestHeader set X-Forwarded-Proto "https"
    RequestHeader set X-Forwarded-Host "%{Host}s"
    Header edit Set-Cookie ^(.*)$ $1;HttpOnly;Secure

    # WebSocket upgrade
    RewriteEngine On
    RewriteCond %{HTTP:Upgrade} =websocket [NC]
    RewriteCond %{HTTP:Connection} upgrade [NC]
    RewriteRule ^/(.*)  ws://127.0.0.1:444/$1 [P,L]

    # Reverse proxy
    ProxyPass        / http://127.0.0.1:444/
    ProxyPassReverse / http://127.0.0.1:444/
    ProxyTimeout 600

    # Dummy document root
    DocumentRoot /var/www/empty
    <Directory /var/www/empty>
        Options -Indexes
        AllowOverride None
        Require all granted
    </Directory>

    ErrorLog ${APACHE_LOG_DIR}/meshcentral-error.log
    CustomLog ${APACHE_LOG_DIR}/meshcentral-access.log combined

    # SSL setup
    SSLEngine on
    SSLProxyEngine On
    SSLCertificateFile /etc/letsencrypt/live/YOURDOMAIN.COM/cert.pem
    SSLCertificateKeyFile /etc/letsencrypt/live/YOURDOMAIN.COM/privkey.pem
    SSLCertificateChainFile /etc/letsencrypt/live/YOURDOMAIN.COM/fullchain.pem

    SSLProtocol -all +TLSv1.2 +TLSv1.3
    SSLHonorCipherOrder on
    SSLCipherSuite HIGH:!aNULL:!MD5:!3DES:!CAMELLIA
    SSLCompression off

    Header always set Strict-Transport-Security "max-age=31536000; includeSubDomains"
</VirtualHost>
</IfModule>
Then enable required modules and restart Apache:
sudo a2enmod proxy proxy_http proxy_wstunnel rewrite headers ssl
sudo systemctl restart apache2
Step 4: Create PHP Microservice for Login Token
This small PHP script generates MeshCentral login tokens and sends them to Faveo RMM via webhook.
a. Create Directory
mkdir -p /var/www/transmitter
cd /var/www/transmitter
b. Create Configuration File
nano config.ini
Paste the below content
[meshcentral]
path     = /var/www/mesh
hostname = YOURDOMAIN.COM
username = root
faveo_url = https://your-helpdesk-domain.com/
NOTE: Replace your-helpdesk-domain.com with the actual Helpdesk domain.
c. Create PHP Script
nano publish.php
Paste the below content to create Token to be sent to Faveo RMM.
<?php

function validateAndLoadConfig(&$config): void
{
    if (!isset($config['meshcentral'])) {
        terminate("Failed to parse config file");
    }

    $config = $config['meshcentral'];

    $requiredKeys = ['hostname', 'path', 'username', 'faveo_url'];
    foreach ($requiredKeys as $requiredKey) {
        if (!isset($config[$requiredKey])) {
            terminate("Missing config key $requiredKey");
        }
    }
}

function terminate($message): void
{
    echo $message . "\n";
    exit(500);
}

function generateLoginToken(): string
{
    $command = sprintf('node %s/node_modules/meshcentral/meshcentral --logintoken user//%s', ...func_get_args());
    $out = shell_exec($command);
    echo "Token: {$out}\n";
    return trim($out);
}

function prepareWebhookPayload($config, &$payload): void
{
    $payload = [
        'token' => generateLoginToken($config['path'], $config['username']),
        'host' => $config['hostname']
    ];
}

function handleCurlRequest($payload, $config)
{
    $ch = curl_init(rtrim($config['faveo_url'], '/').'/v3/agent-software/mesh-webhook');
    curl_setopt($ch, CURLOPT_POST, true);
    curl_setopt($ch, CURLOPT_POSTFIELDS, json_encode($payload));
    curl_setopt($ch, CURLOPT_HTTPHEADER, ['Content-Type: application/json']);
    curl_setopt($ch, CURLOPT_RETURNTRANSFER, true);

    $response = curl_exec($ch);
    $curlError = curl_error($ch);
    $httpCode = curl_getinfo($ch, CURLINFO_HTTP_CODE);
    curl_close($ch);

    if ($curlError) {
        echo "❌ cURL Error: $curlError\n";
    } elseif ($httpCode >= 400) {
        echo "❌ HTTP Error $httpCode: $response\n";
    } else {
        echo "✅ Webhook sent successfully\n";
    }
}

$config = parse_ini_file('config.ini', true);
validateAndLoadConfig($config);
prepareWebhookPayload($config, $payload);
handleCurlRequest($payload, $config);
Test the script:
php publish.php
If successful, it will print a token and confirm webhook delivery.
d. Automate with Cron
To run the script automatically every minute, add the below cron
(crontab -l 2>/dev/null; echo "* * * * * /usr/bin/php /var/www/transmitter/publish.php >> /var/log/transmitter.log 2>&1") | crontab -
This ensures tokens are continuously generated and sent to Faveo RMM.
Step 5: Retrieve MeshCentral Device Group ID
You’ll need the Device Group ID to connect MeshCentral with Faveo RMM.
a. Log in and Create Group
- Open https://YOURDOMAIN.COM in your browser.
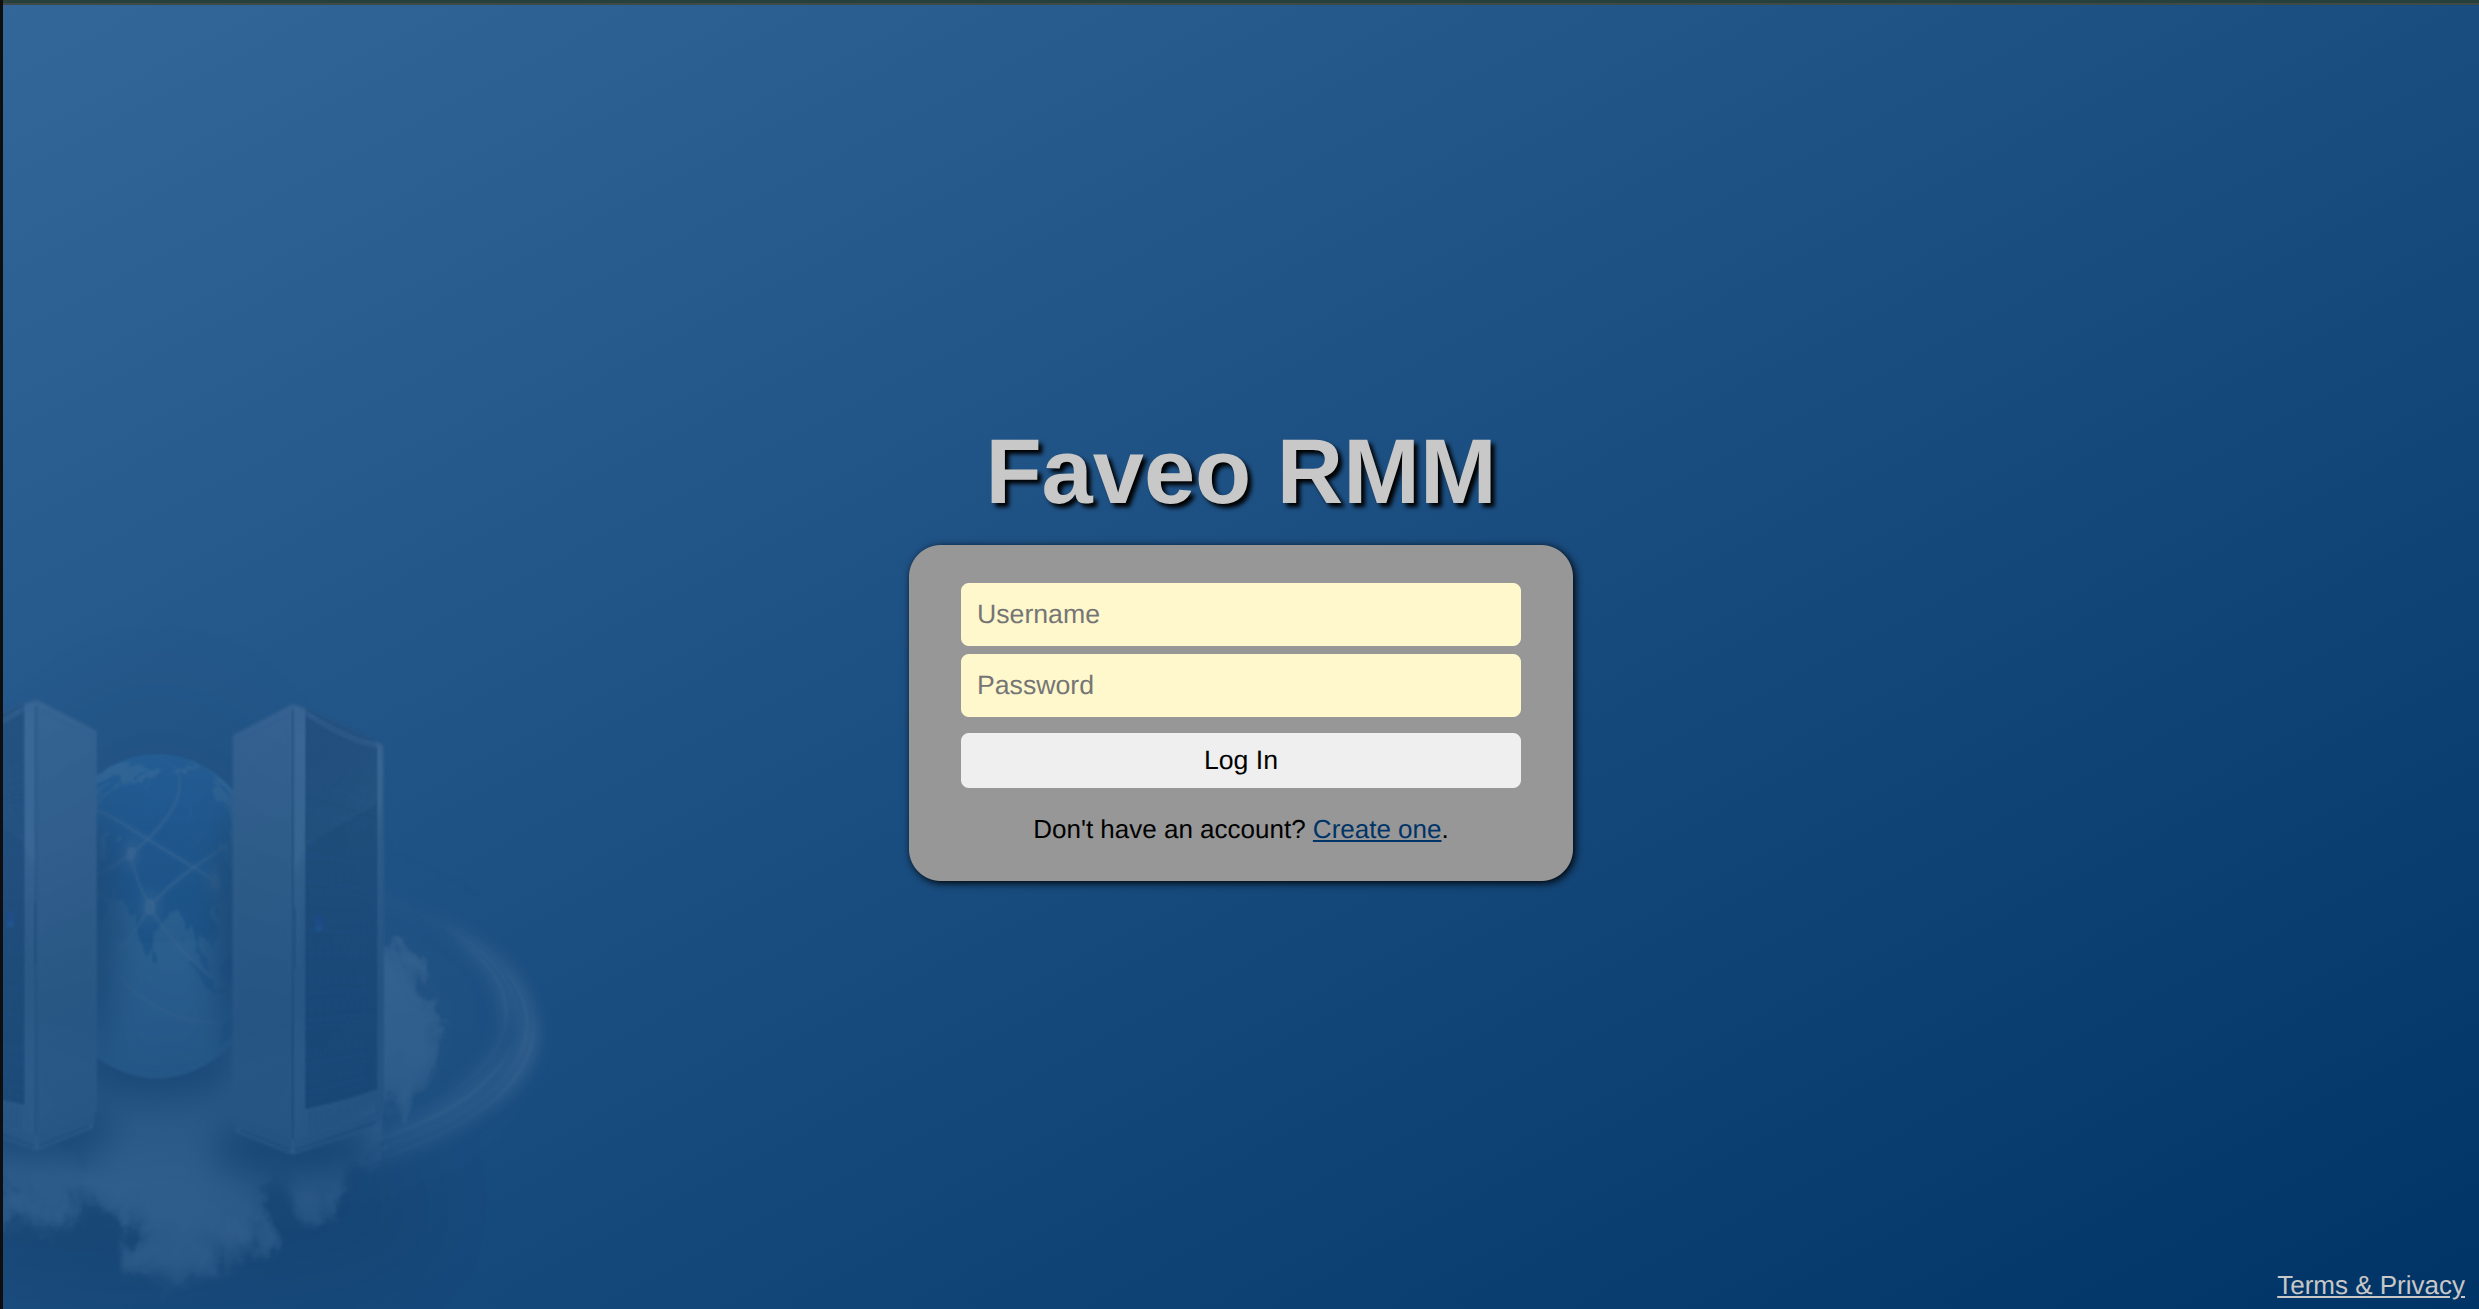
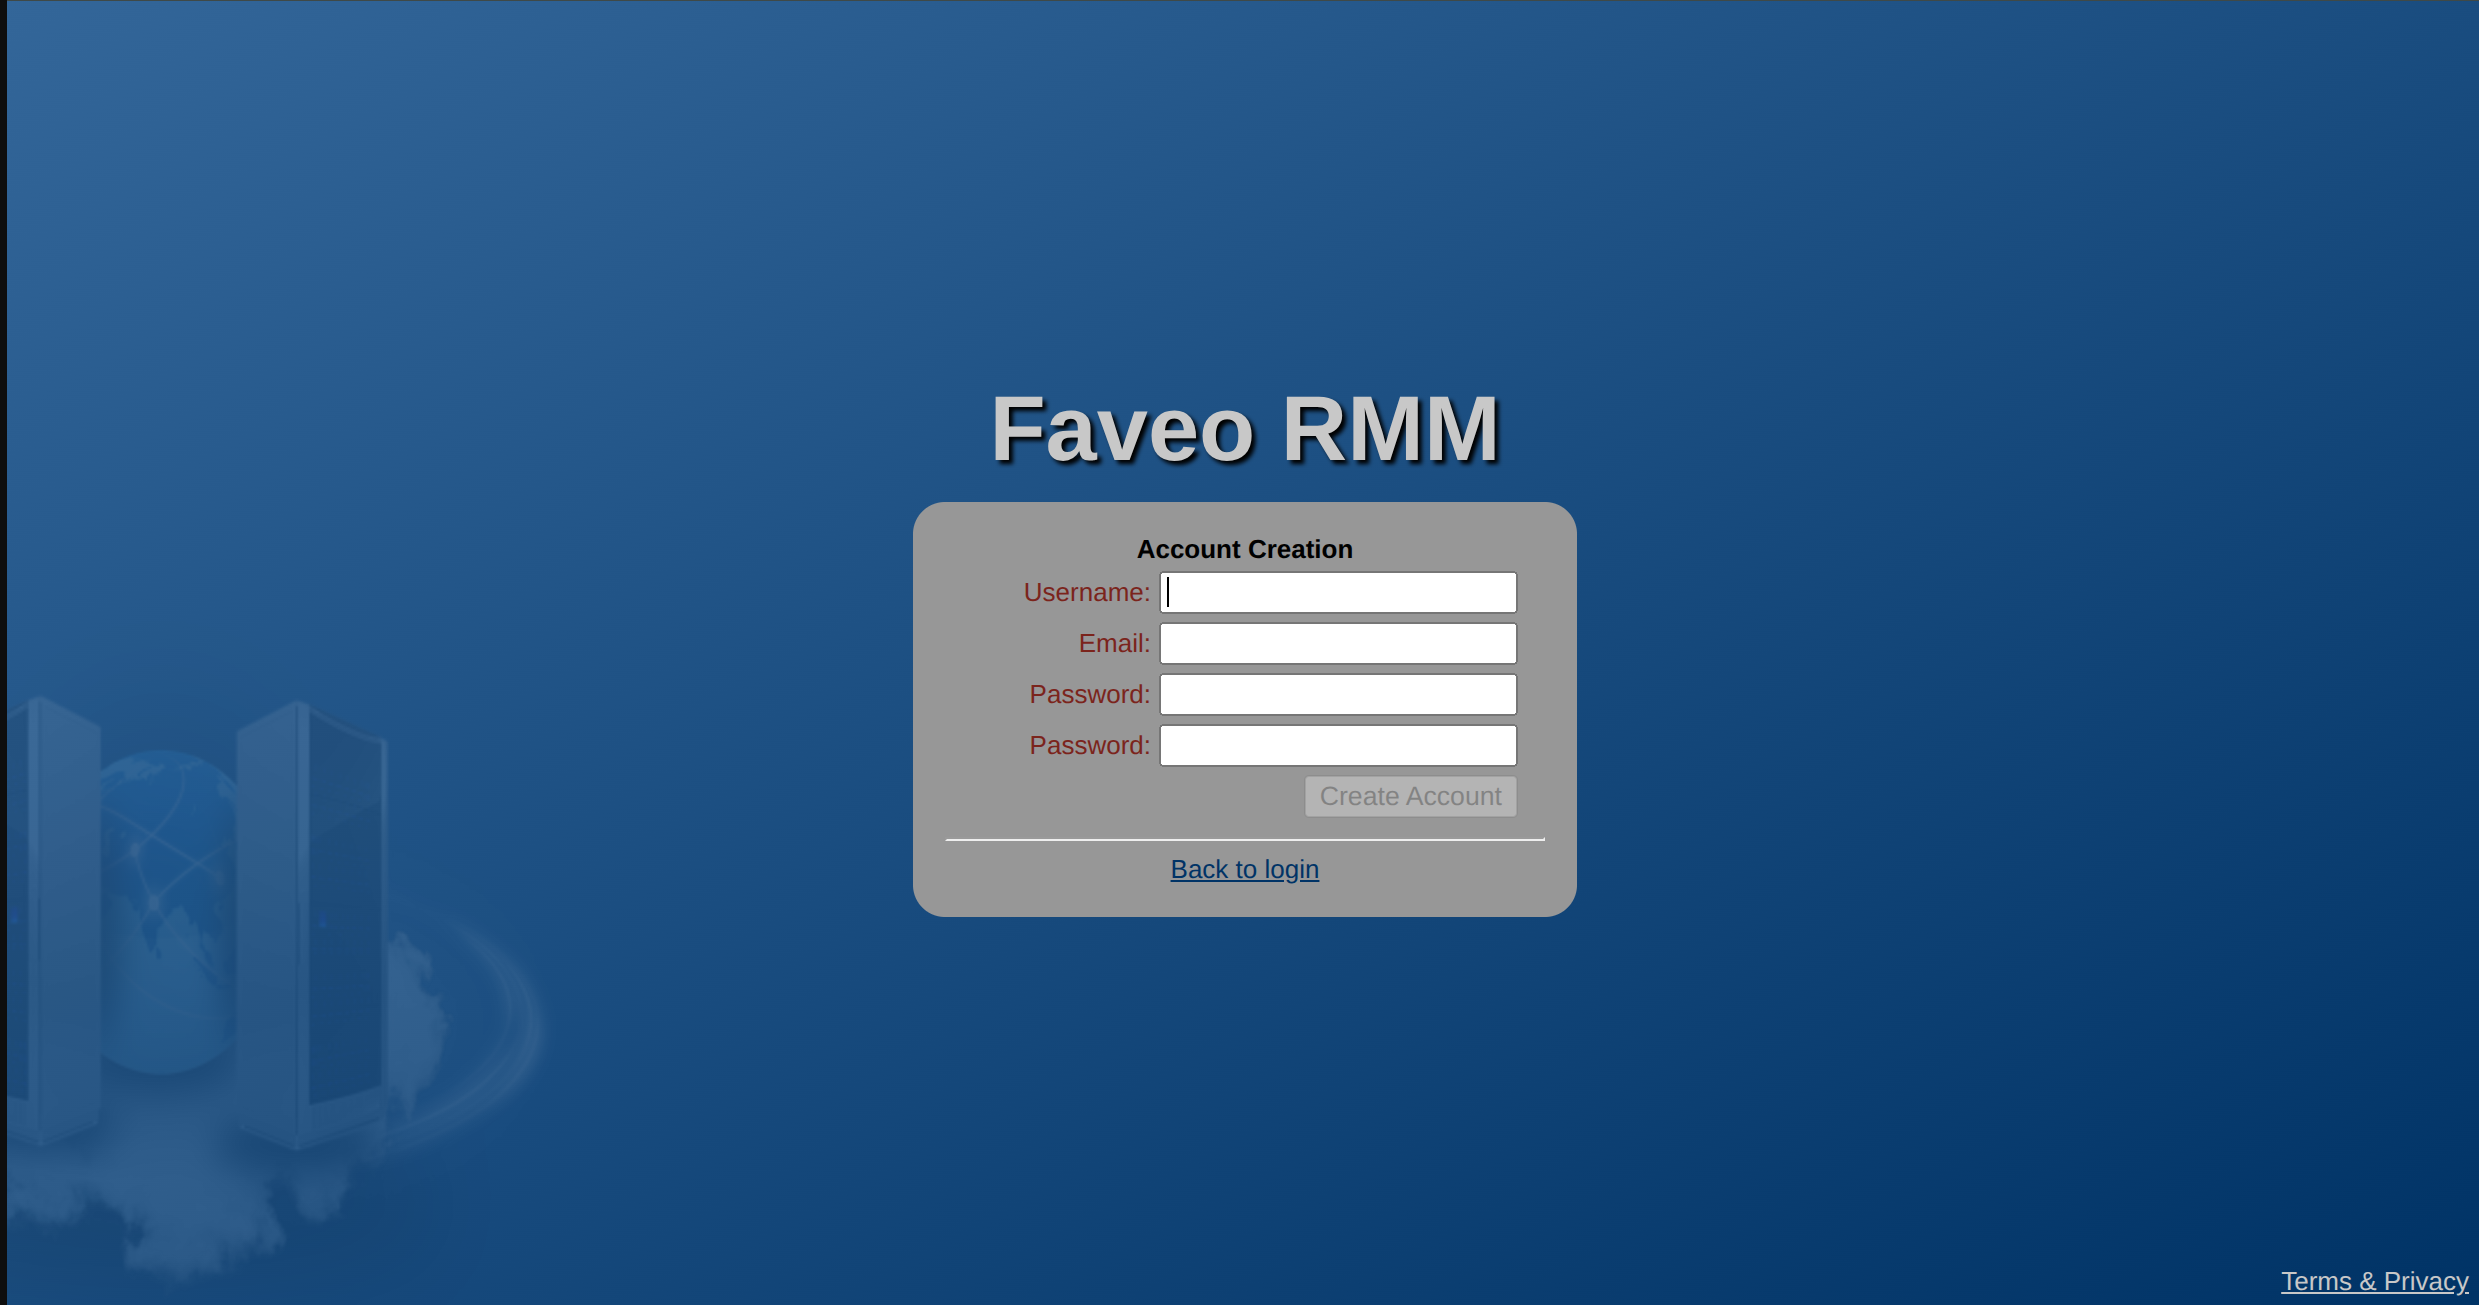
- Create a new user account.
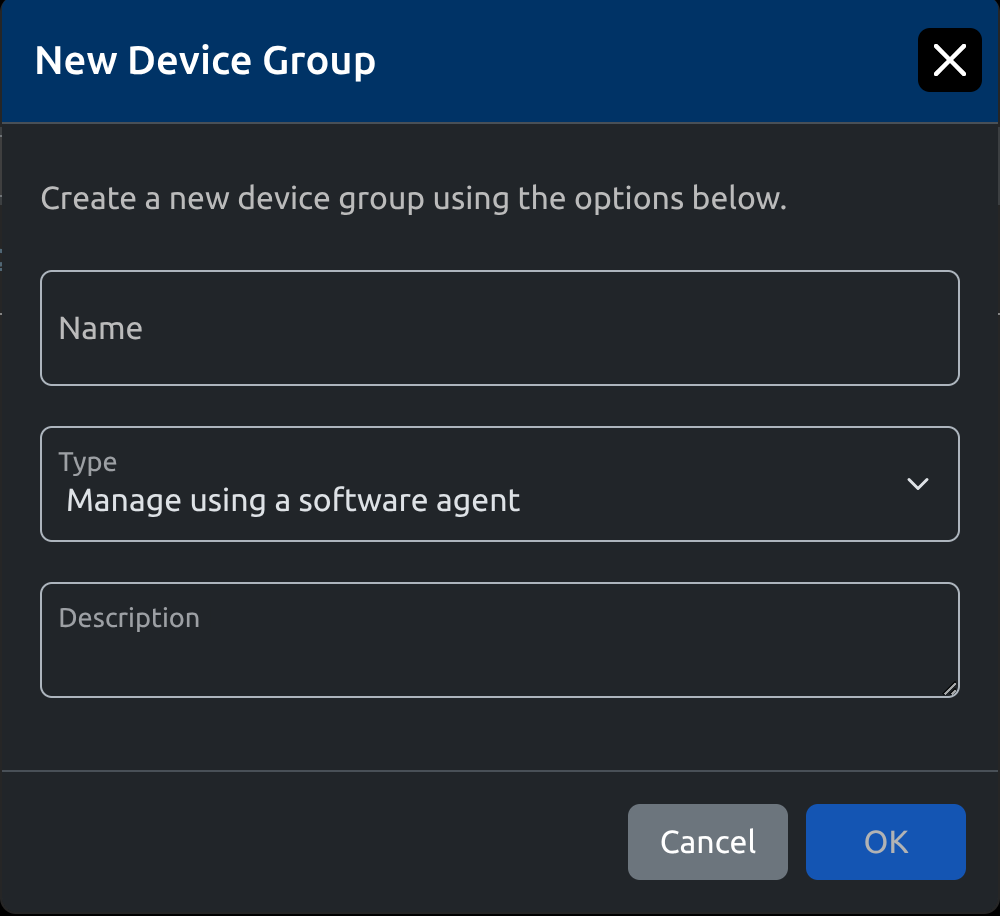
- Add a New Device Group for Faveo.
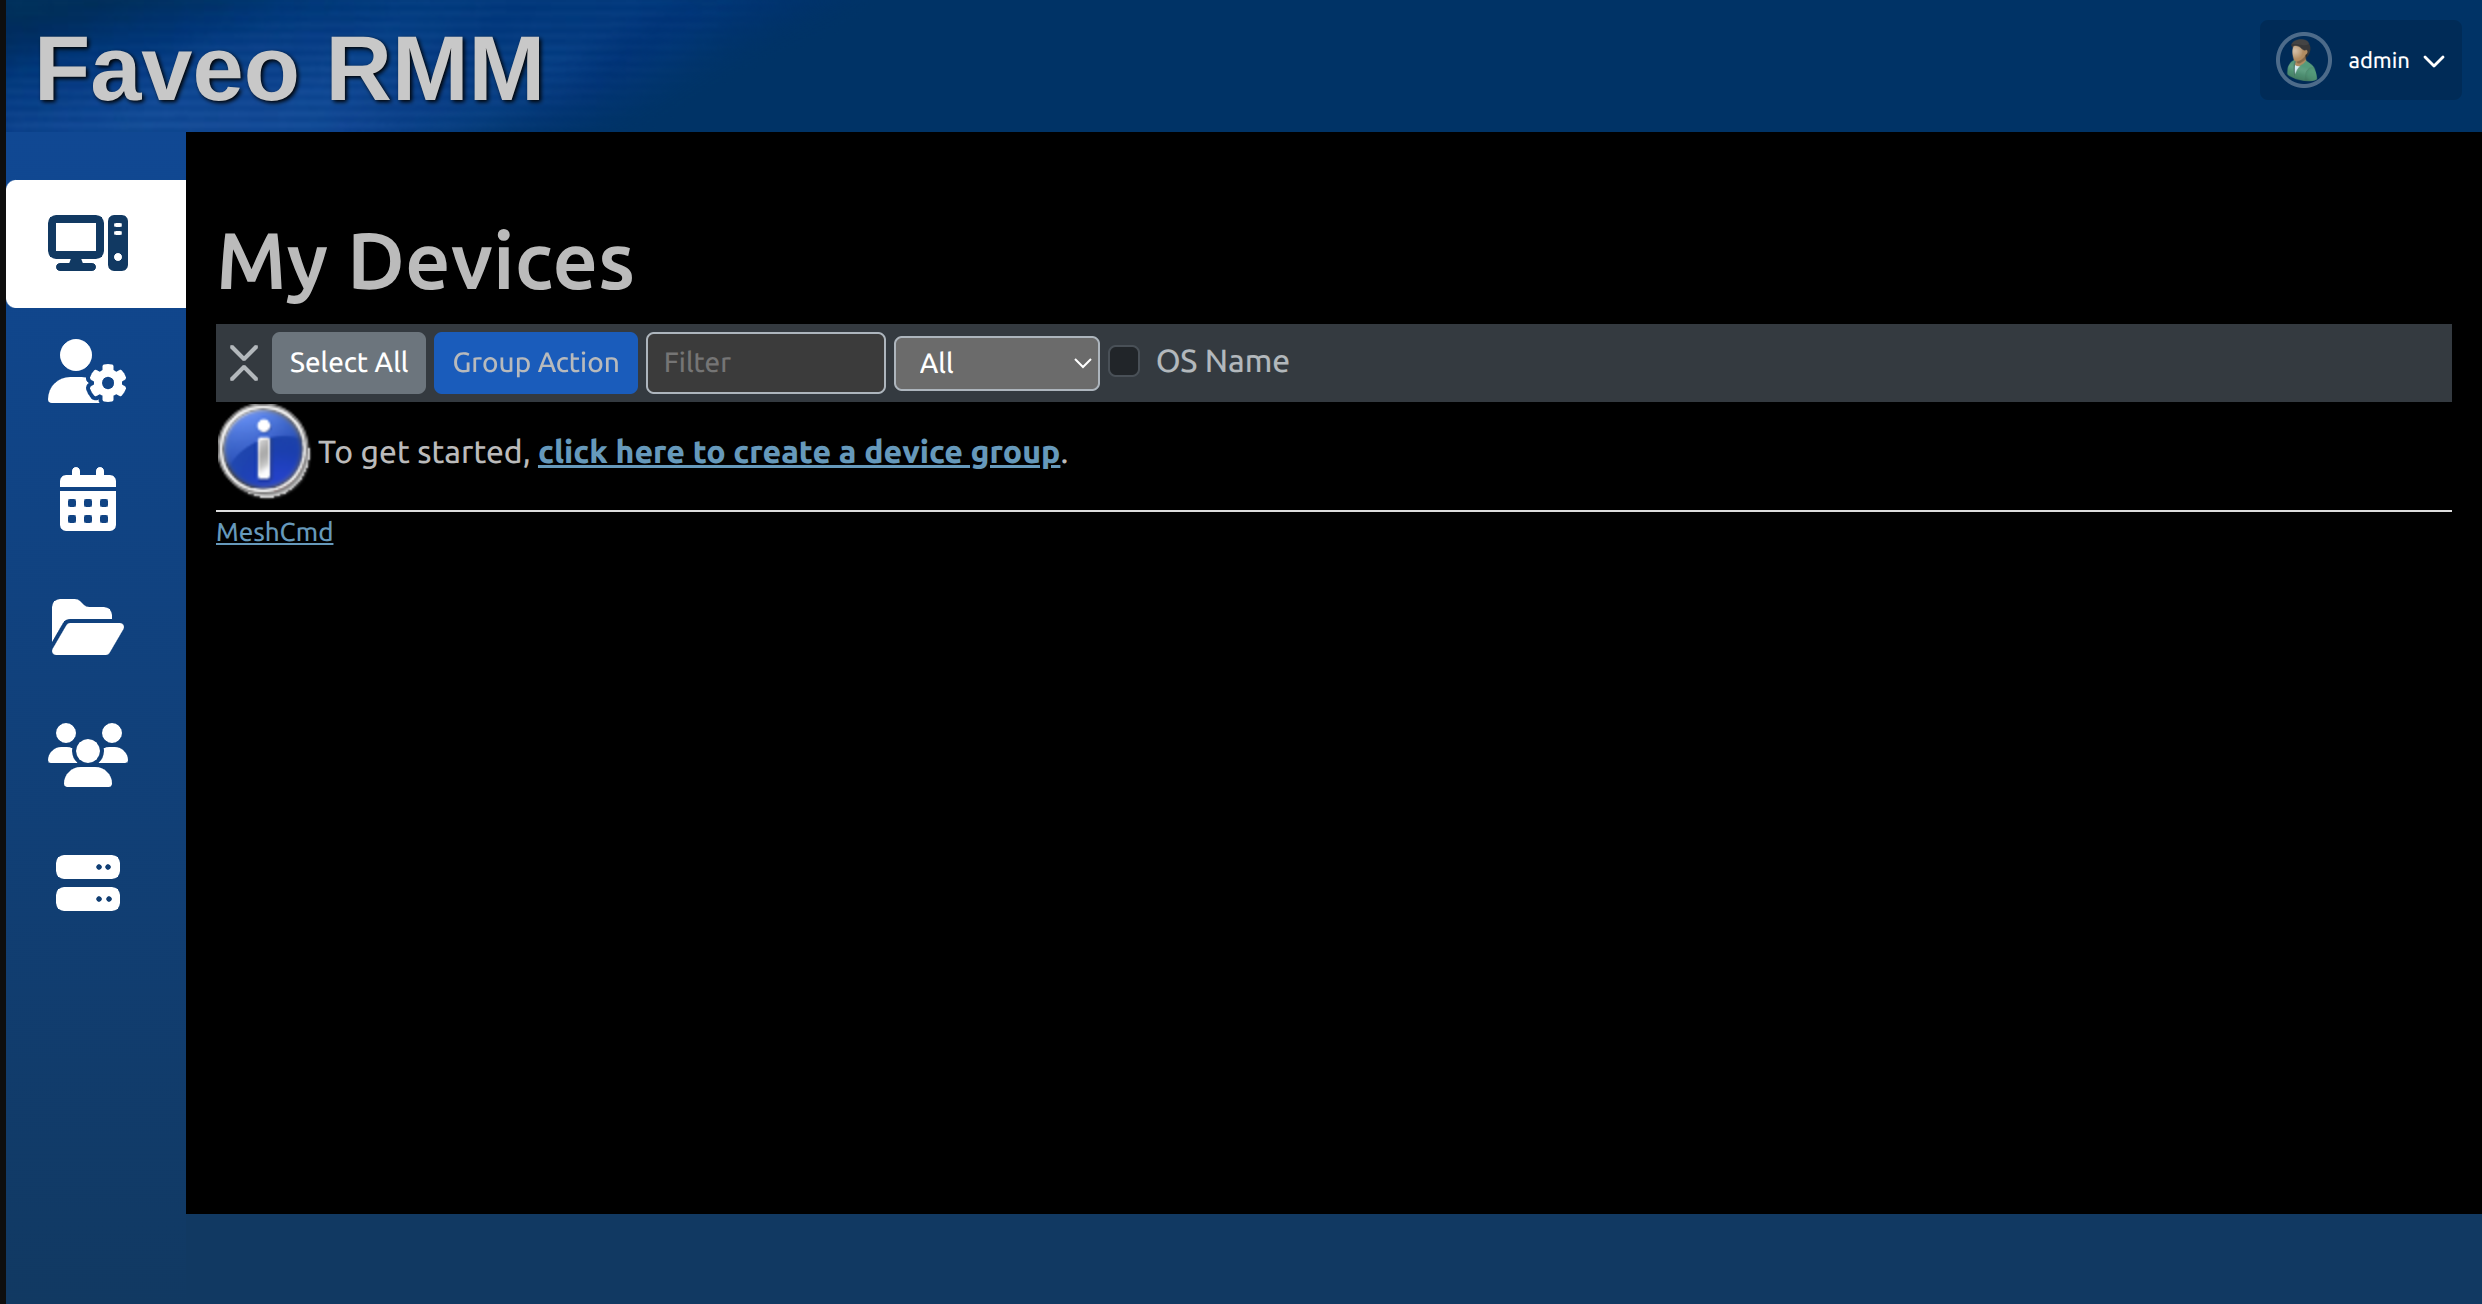
- A new window will open where you can create the New Device Group
b. Run below commands to get the Device Group ID
cd /var/www/mesh
node node_modules/meshcentral/meshctrl --loginuser=<username> --loginpass=<password> ListDeviceGroups
Note: Replace < username > and < password > with your actual username and password created above.
Example output:
id, name
---------------
"8DoUJM0LSHk04WXnqNqoMVzjpessvbbAZ$plvbEeGiWjub8qKLILWqQcwuFw0LPp", "Faveo RMM"
Copy the ID for later use in Faveo Configuration.
Step 6: Configure Faveo Helpdesk to use MeshCentral
Now open the Faveo Helpdesk URL in browser and navigate to Admin Panel > Agent Software > Remote Access.
Fill up the below details for Agent Remote Access:
- Host: YOURDOMAIN.COM (MeshCentral Domain)
- Device Group: Created in above Step (Example: 8DoUJM0LSHk04WXnqNqoMVzjpessvbbAZ$plvbEeGiWjub8qKLILWqQcwuFw0LPp)
- Token: Will be auto filled once saved (Created by cron for publish.php)
At this stage it is assumed that Faveo Helpdesk Server has NATS Server and WebSockets configured. If it is not configured, please follow the below links to setup both: