Installing Faveo Helpdesk on Windows Server
![]()
Faveo can run on the Windows Server.
-
- 1.Install IIS Server
- 2. Install PHP 8.4
- 3. Create FastCGI Handler Mapping
- 4. Install MariaDB 10.6/MySQL 8.0
- 5. Install Ioncube Loader
- 6. Install wkhtmltopdf
- 7. Upload Faveo
- 8. Configure Faveo in IIS Manager
- 9. Configure web.config file for IIS
- 10. Setting up the Database
- 11. Setting up Bindings
- 12. Set Cron & Configure Queue Driver
- 13. Install Meilisearch
- 14. SSL Installation
- 15. Install Faveo
- 16. Faveo Backup
The Installation steps listed above are to be followed to install Faveo on your Windows-IIS Server.
Before we follow the installation steps Notepad++ , Winrar & 7-Zip must be installed.
1. Install IIS Server
To install IIS Server open Server Manager and locate the Manage button on the top right corner click on it and select Add Roles and Features.

-
A wizard will open displaying the overview, click on
Next, and underInstallation TypeselectRole-based and Feature-based installationand selectNext. -
Leave the default in
Server Selectionand clickNext. -
Now under
Server Rolessearch and enable the checkbox forWeb Server IISclick on theAdd Featureswindow and proceed by clickingNext.

- In the
Featuressection locate the.NET Framework 3.5 and .NET Framework 4.7select the packages as shown in the below image:

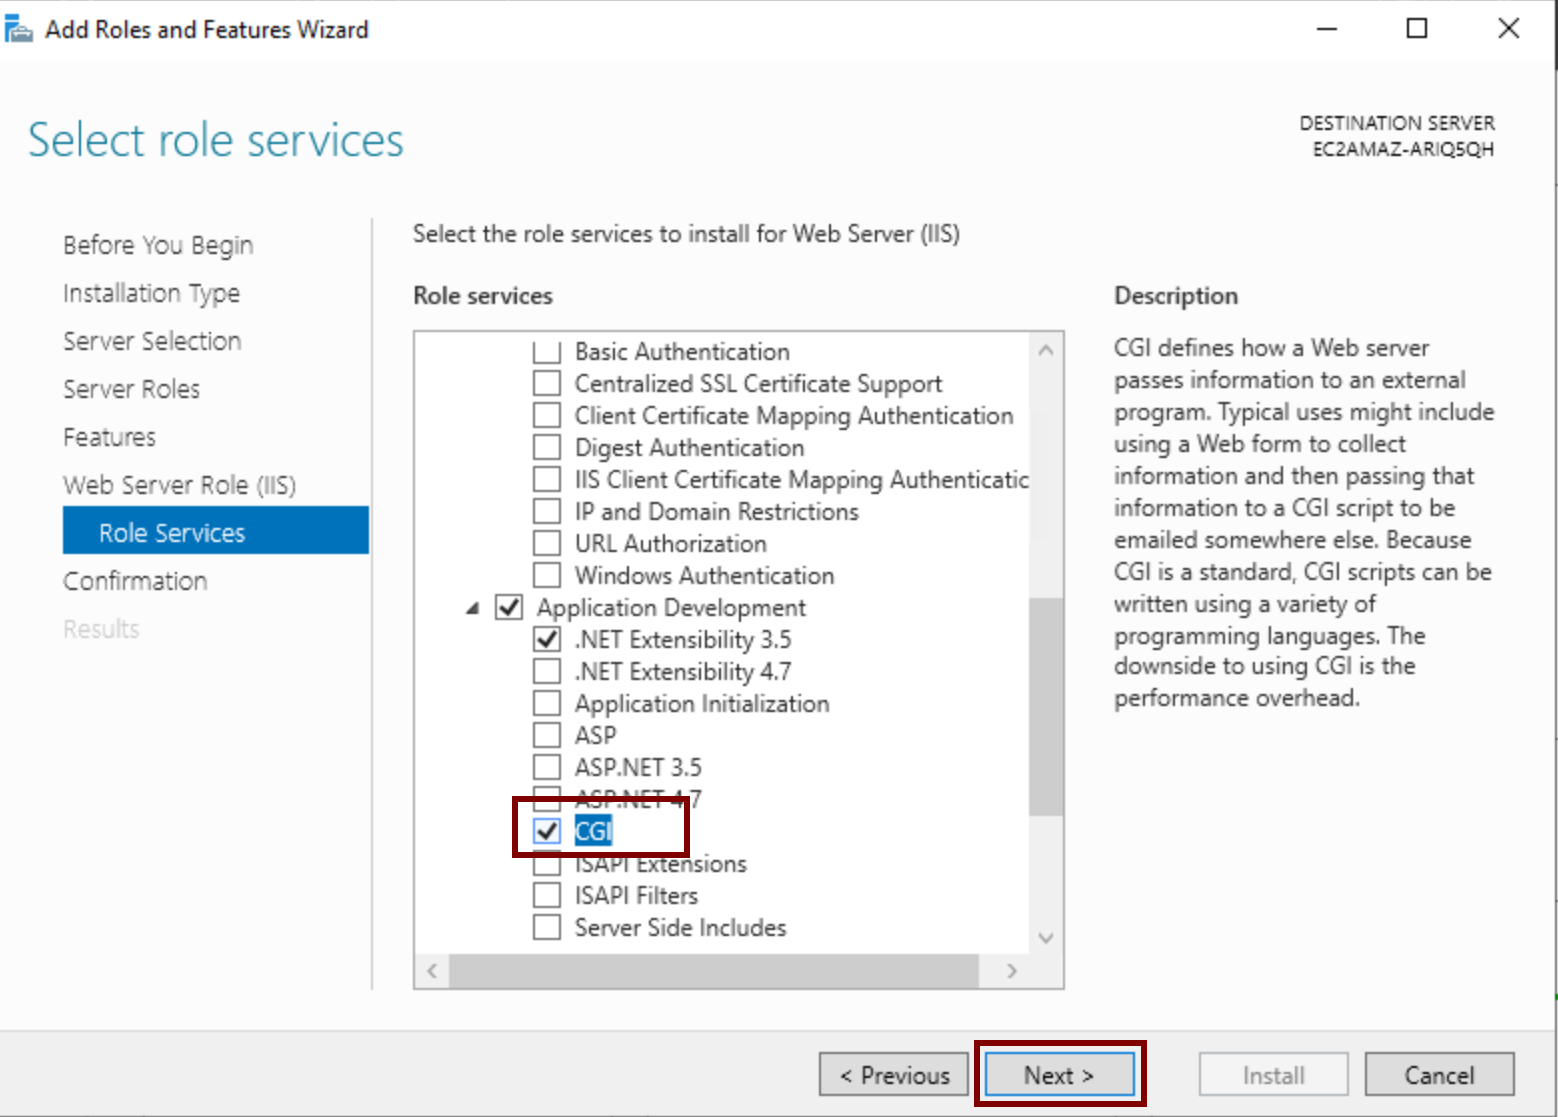
- In the
Role Servicessection locate theApplication Developmentselect the packageCGIand clickNext.
- Click
Nextthrice to confirm the settings and finally click onInstall. It will get the IIS installed on the server. To verify the installation, you can type the following URL in the browser
http://localhost/
2. Install PHP 8.4
- Click Here to download php 8.4.9 NTS 64bit file. Extract the zip file & “rename it to
php8.4. Now move the renamedphp8.4folder toC:\php8.4.

- Open
php8.4folder, findphp.ini-development& rename it tophp.inito make it php configuration file.

- Open
php.iniusing Notepad++, add the below lines at the end of this file & save the file:
Required configuration changes for Faveo Helpdesk.
error_log=C:\Windows\temp\PHP84x64_errors.log
upload_tmp_dir="C:\Windows\Temp"
session.save_path="C:\Windows\Temp"
cgi.force_redirect=0
cgi.fix_pathinfo=1
fastcgi.impersonate=1
fastcgi.logging=0
max_execution_time=300
date.timezone=Asia/Kolkata
extension_dir="C:\php8.4\ext\"
upload_max_filesize = 100M
post_max_size = 100M
memory_limit = 256M
Uncomment these extensions.
extension=bz2
extension=curl
extension=fileinfo
extension=gd
extension=imap
extension=ldap
extension=mbstring
extension=mysqli
extension=soap
extension=sockets
extension=sodium
extension=openssl
extension=pdo_mysql
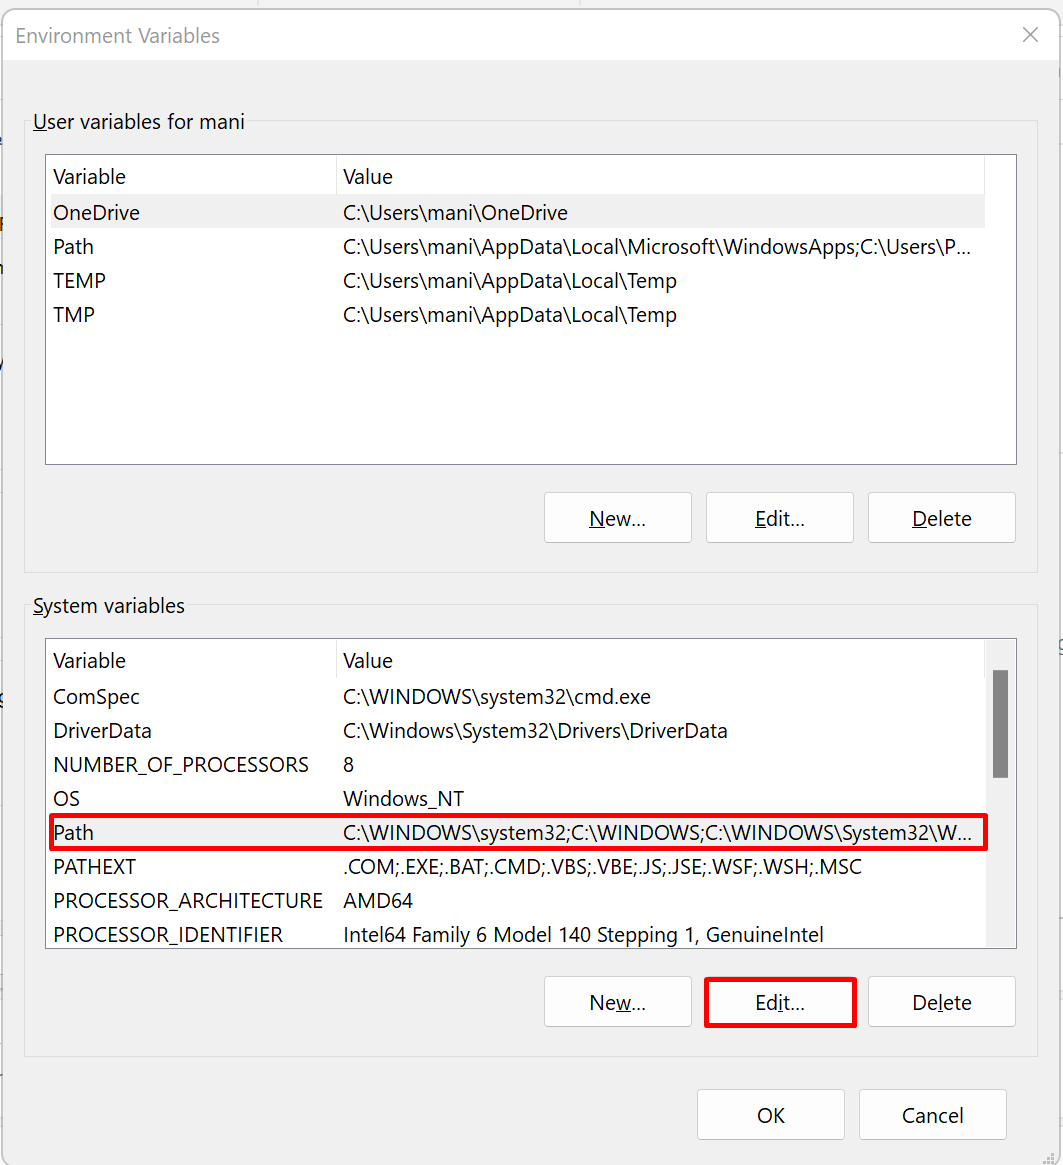
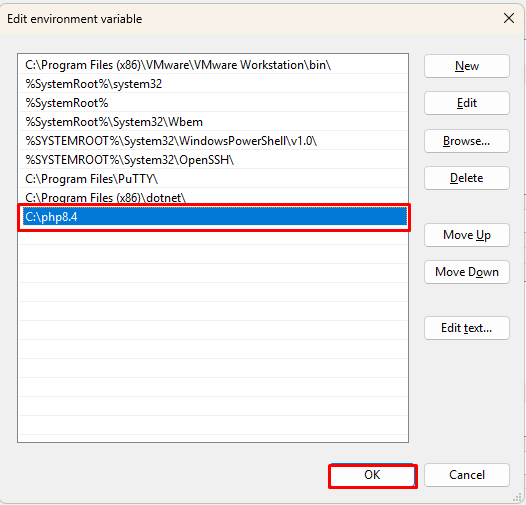
2.a. Update the Environment Variable for PHP Binary
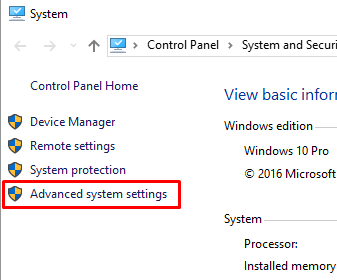
- Right click on This PC, go to Properties > Advanced System Settings > Environment Variables.
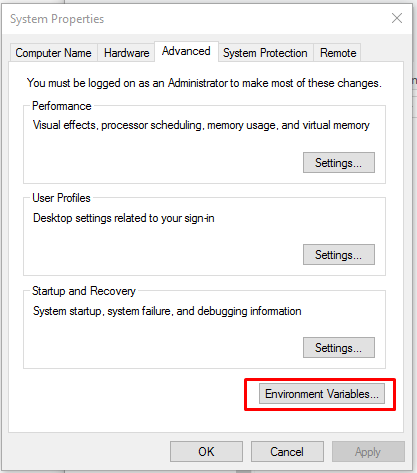
- Now click on Path > Edit > New & add copied path C:\php8.4\ here and click OK in all 3 tabs.
2.b. Enable cacert.pem File in PHP Configuration File
-
Click Here to download
cacaert.pemfile. This is required to avoid the “cURL 60 error” which is one of the Probes that Faveo checks. -
Copy the
cacert.pemfile toC:\php8.4path. -
Edit the
php.inilocated inC:\php8.4, Uncommentcurl.cainfoand add the location of cacert.pem to it as below:
curl.cainfo = "C:\php8.4\cacert.pem"
3. Create FastCGI Handler Mapping
-
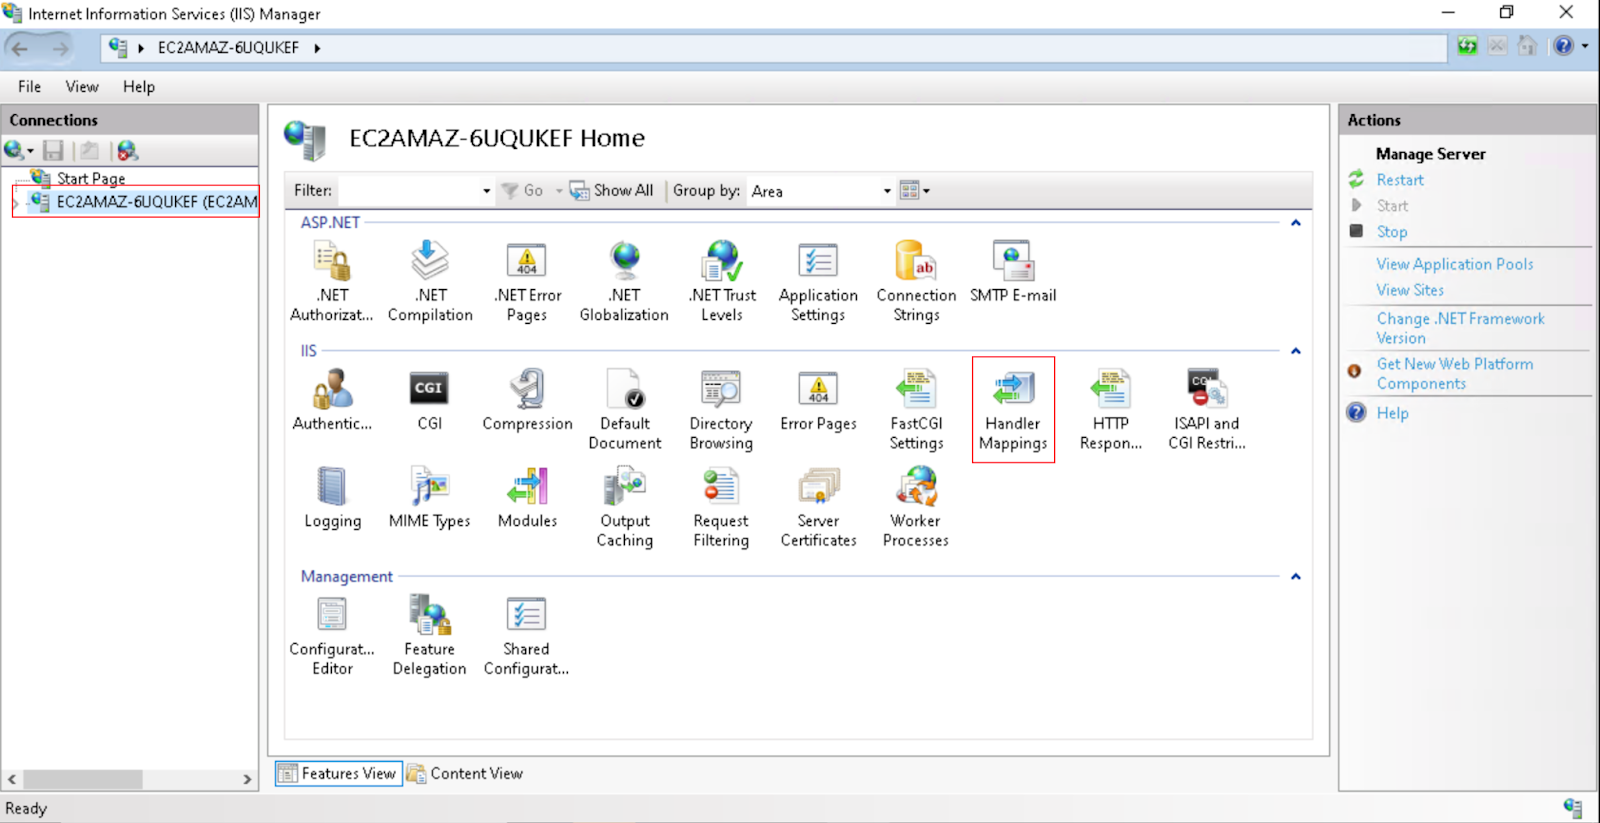
Open Server Manager, locate
Toolson the top right corner of the Dashboard, OpenInternet Information Services (IIS) Manager.
-
Now in the Left Panel of the IIS Manager select the server then you will find the
Handler Mappingsit will populate the available options to configure.
-
Open
Handler Mappings, Click onAdd Module Mappingin the Right Panel, Add Module Mapping window will appear. Add the below values in the respective fields. - RequestPath
*.php - Module
FastCgiModule - Executable (Optional)
"C:\php8.4\php-cgi.exe" - Name
FastCGI
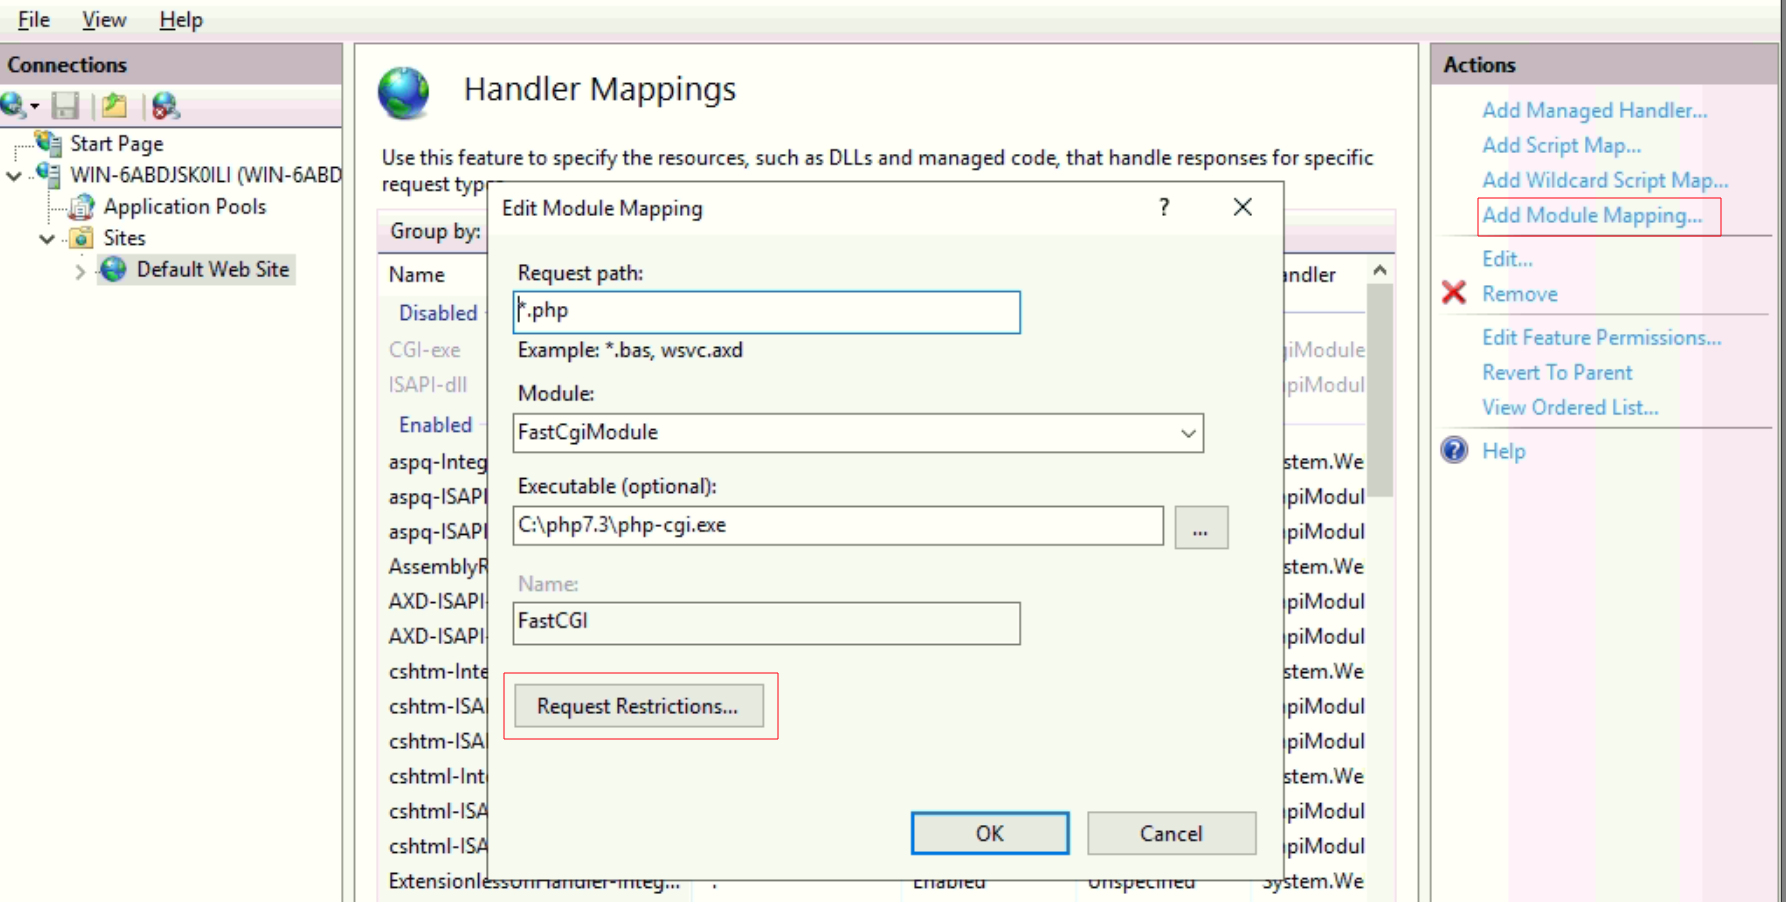
By default, IIS configures PHP only to accept GET, POST, and HEAD request types. Since Faveo makes use of other requests types (such as DELETE and PUT), you must manually change the PHP handler to allow them.
- Click on the
Request Restrictionsbutton, then switch to theVerbstab. Switch the radio button toAll Verbs, then clickOKto close the window, thenOKagain to close the other.

Note: You may be prompted with an alert to fix the path to the PHP executable. If so, just put double-quotation marks around the path that already exists in the Executable box and it will save successfully.
- Open notepad and copy the below lines and save the file under the path
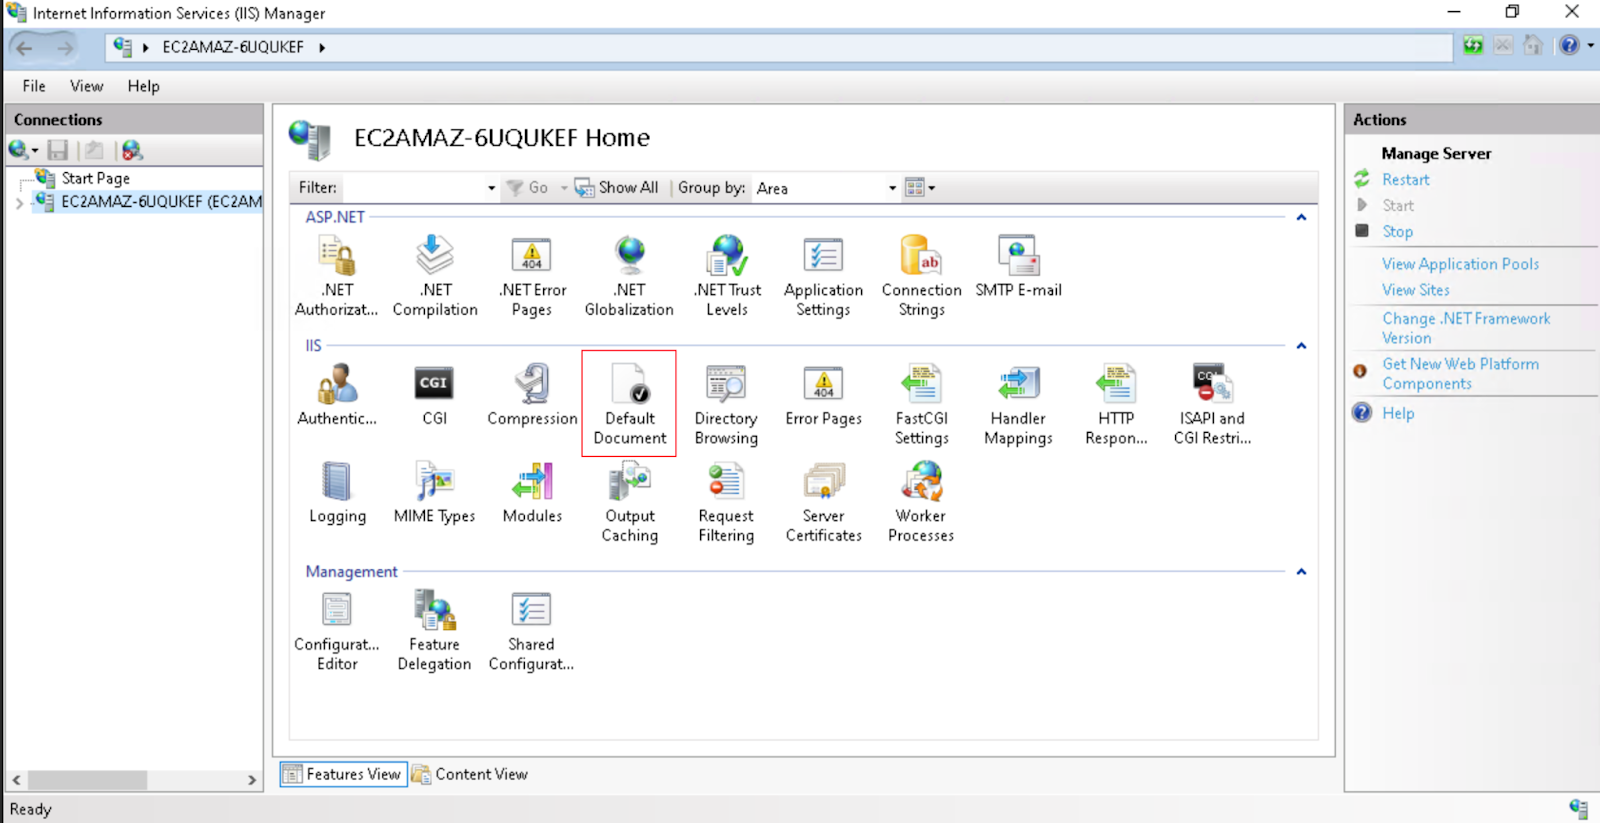
C:\inetpub\wwwrootasindex.php. Make sure while saving you select all file types otherwise you will end up having the file as index.php.txt<?php phpinfo(); ?> - Now go back to the main server configuration and select
Default Document. OpenDefault Document, Click onAddfrom the Right Panel, a new window will appear. Add the valueindex.phpand clickOK.

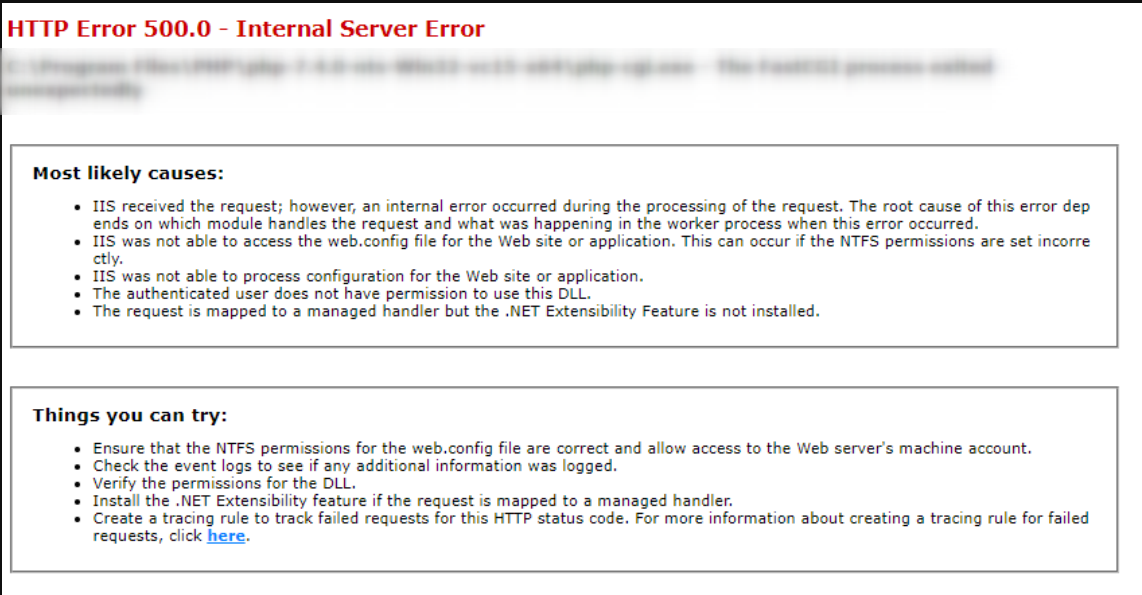
- Now if you visit “http://localhost” in the browser you should be able to see PHP Info page.

Note: If you don’t see the above php page and see the error page like below, you need to install the relevant C++ Redistributable for Visual Studio.
Install Visual Studio (Conditional Step)
- Click Here to download the Visual Studio.

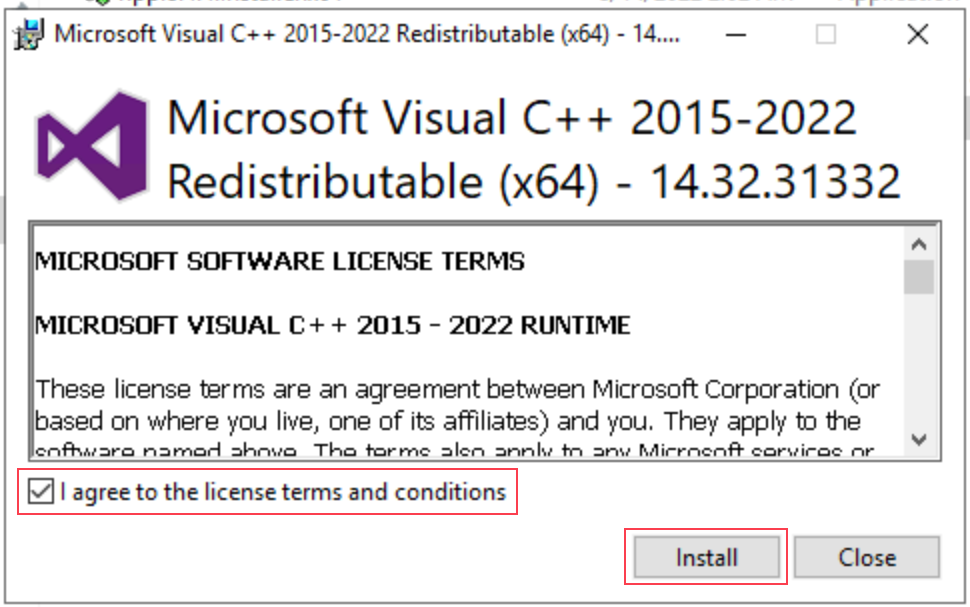
- Execute the installer to perform the required installation.
- Accept the License Agreement terms and click
Install.
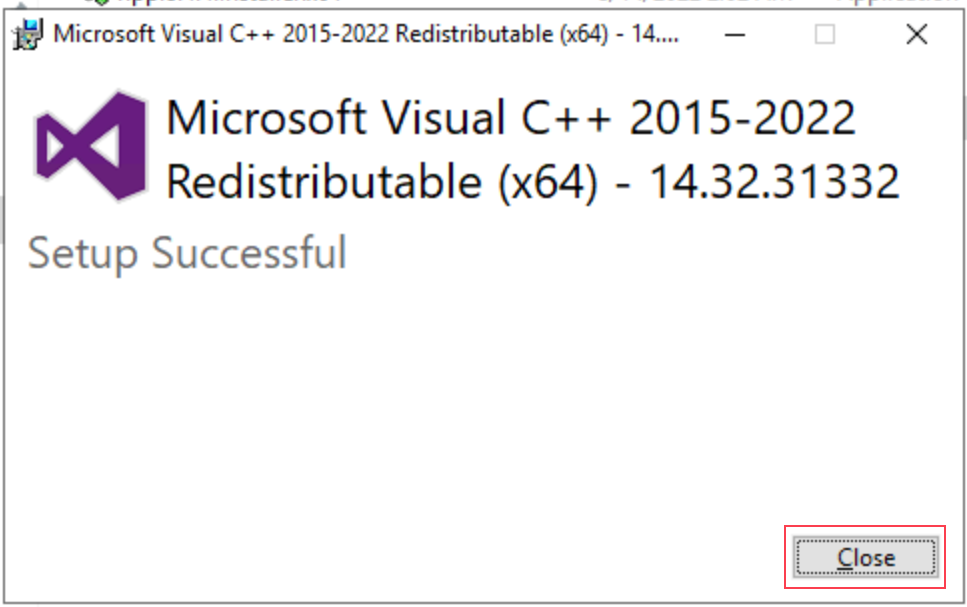
- Click
Closeto finish the installation.
4. Install MariaDB 10.6/MySQL 8.0
-
An open-source relational database management system(RDBMS) can be chosen among the MariaDB and MySQL.
- MariaDB documentation
- MySQL documentation
5. Install Ioncube Loader
-
Click Here to download Ioncube Loader zip file, Extract the zip file.
-
Copy the
ioncube_loader_win_8.4.dllfile from extracted Ioncube folder and paste it in the PHP extension directoryC:\php8.4\ext. -
Add the below line in your php.ini file at the starting to enable Ioncube.
zend_extension = "C:\php8.4\ext\ioncube_loader_win_8.4.dll"
6. Install wkhtmltopdf
Wkhtmltopdf is an open source simple and much effective command-line shell utility that enables user to convert any given HTML (Web Page) to PDF document or an image (jpg, png, etc). It uses WebKit rendering layout engine to convert HTML pages to PDF document without losing the quality of the pages. Its is really very useful and trustworthy solution for creating and storing snapshots of web pages in real-time.
- Click Here to download 64-bit wkhtmltopdf-0.12.6-1.exe installer file.
-
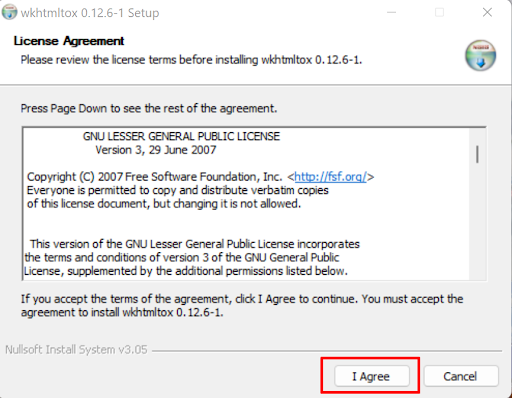
Run the downloaded
wkhtmltopdf-0.12.6-1.exe installer. -
Click
I Agreeon the license agreement screen.
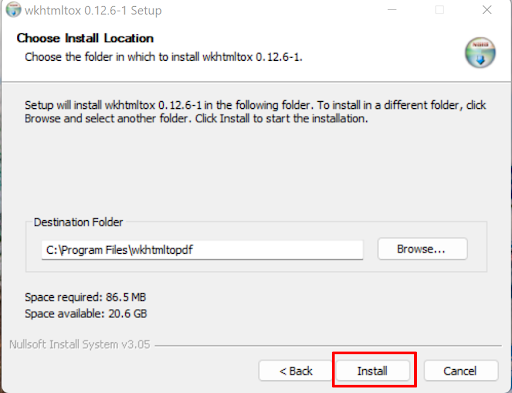
- Specify the installation destination folder or leave it as default location and click
Install
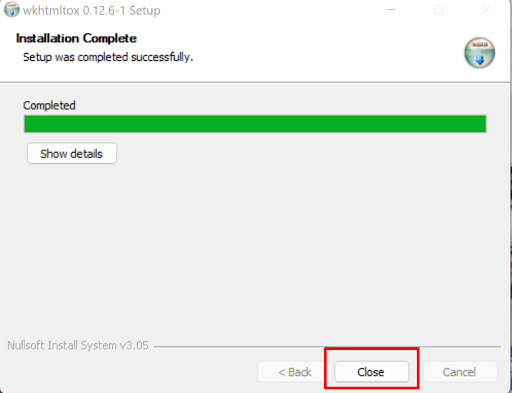
- When installation is complete, click the
Closebutton.
-
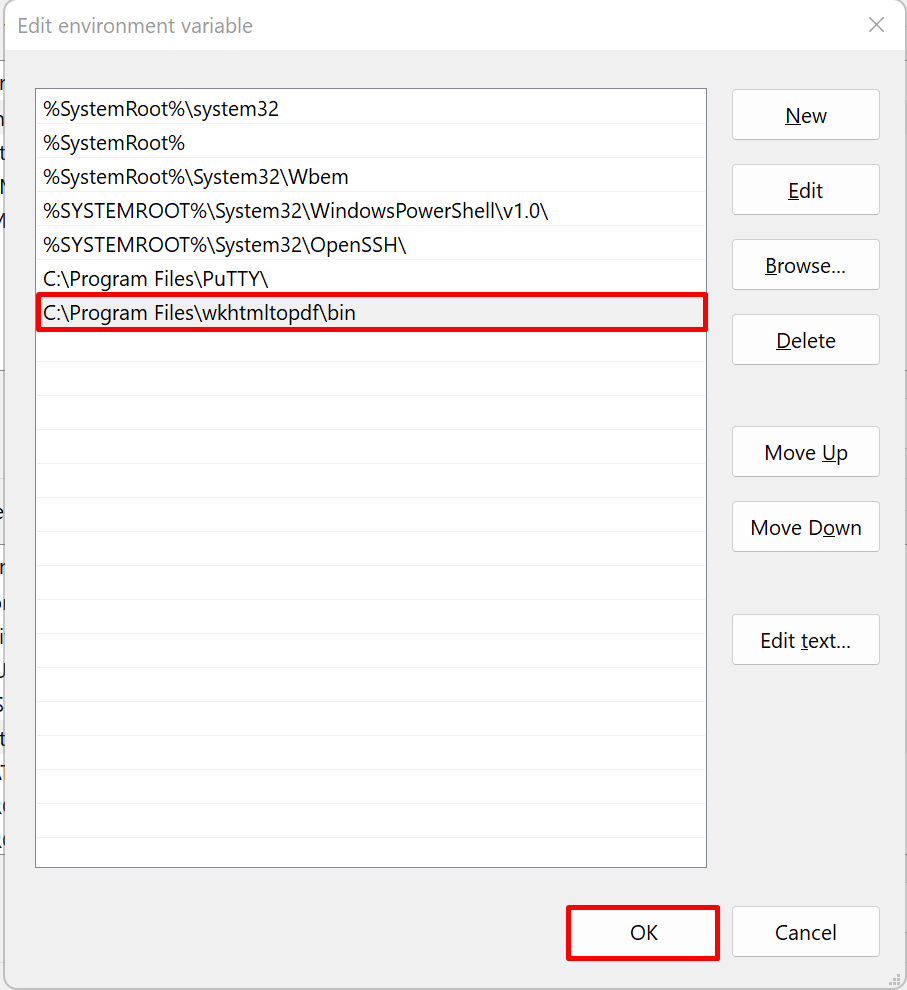
Now copy wkhtmltox.dll located at C:\Program Files\wkhtmltopdf\bin and paste it in C:\php8.4\ext
-
Update the Environmet variable for wkhtmltopdf.
Refer to section (2.a) for adding Environment Variable
7. Upload Faveo
- Download the Faveo Helpdesk from
https://billing.faveohelpdesk.comand extract the contents inside IIS Root Directory.C:\inetpub\wwwroot\ - Right click on
wwwrootdirectory and in the security tab click on edit and add userIUSR. Give full permissions toIIS_IUSRS,IUSRandUsersfor the wwwroot folder.

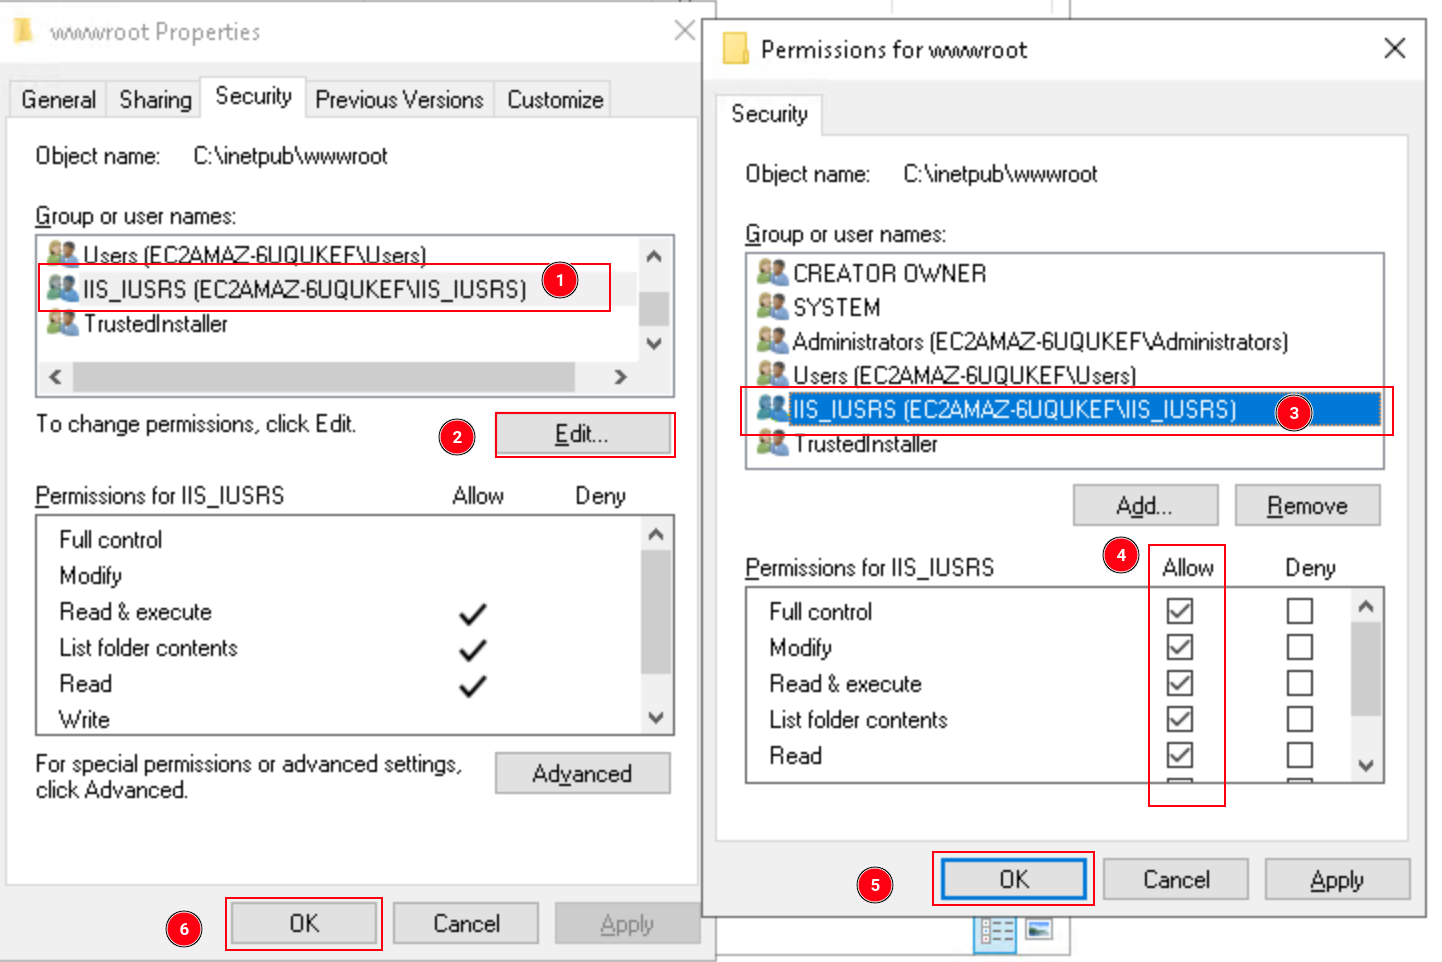
Give full permissions (same as above) to the Windows Temp folder as well:
C:\Windows\Temp
8. Configure Faveo in IIS Manager
- Open IIS Manager and in the left pane, Explore till you find
Default Web Site, select it. -
Then in the right panel, you will see the
Basic Settingsoption click on it, a new window will open as shown below: - Set the
Physical Pathvalue to:
"%SystemDrive%\inetpub\wwwroot\public"

9. Configure web.config file for IIS
- Open notepad and copy the below lines and save the file under the path
C:\inetpub\wwwroot\publicasweb.config. Make sure while saving you select all file types.
<?xml version="1.0" encoding="UTF-8"?>

<configuration>

    <system.webServer>

        <rewrite>

            <rules>

                <rule name="Imported Rule 1" stopProcessing="true">

                    <match url="^" ignoreCase="false" />

                    <conditions logicalGrouping="MatchAll">

                        <add input="{REQUEST_FILENAME}" matchType="IsDirectory" ignoreCase="false" negate="true" />

                        <add input="{REQUEST_FILENAME}" matchType="IsFile" ignoreCase="false" negate="true" />

                    </conditions>

                    <action type="Rewrite" url="index.php" />

                </rule>

            </rules>

        </rewrite>

    </system.webServer>

</configuration>
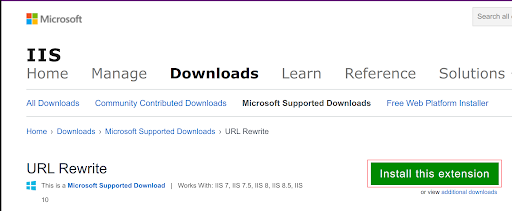
- Click Here to download URL Rewrite. Click on
Install this Extensionexecute the installer and clickInstall. - URL Rewrite enables Web administrators to create powerful rules to implement URLs that are easier for users to remember and easier for search engines to find.
10. Setting up the Database
Open MariaDB 10.6 Command Line Client from the start menu and enter the password that you set while installing. Run the below commands to create a database and database user for Faveo Helpdesk.
- Create a database called ‘faveo’.
CREATE DATABASE faveo;
- Create a user called ‘faveo’ and change the
strongpasswordwith the password of your choice.
CREATE USER 'faveo'@'localhost' IDENTIFIED BY 'strongpassword';
- Grant access to the faveo user to faveo Database.
GRANT ALL ON faveo.* TO 'faveo'@'localhost';
- And finally, we apply the changes and exit the database.
FLUSH PRIVILEGES;
exit
11. Setting up Bindings
-
To Open the Faveo on your domain, you must set the binding.
-
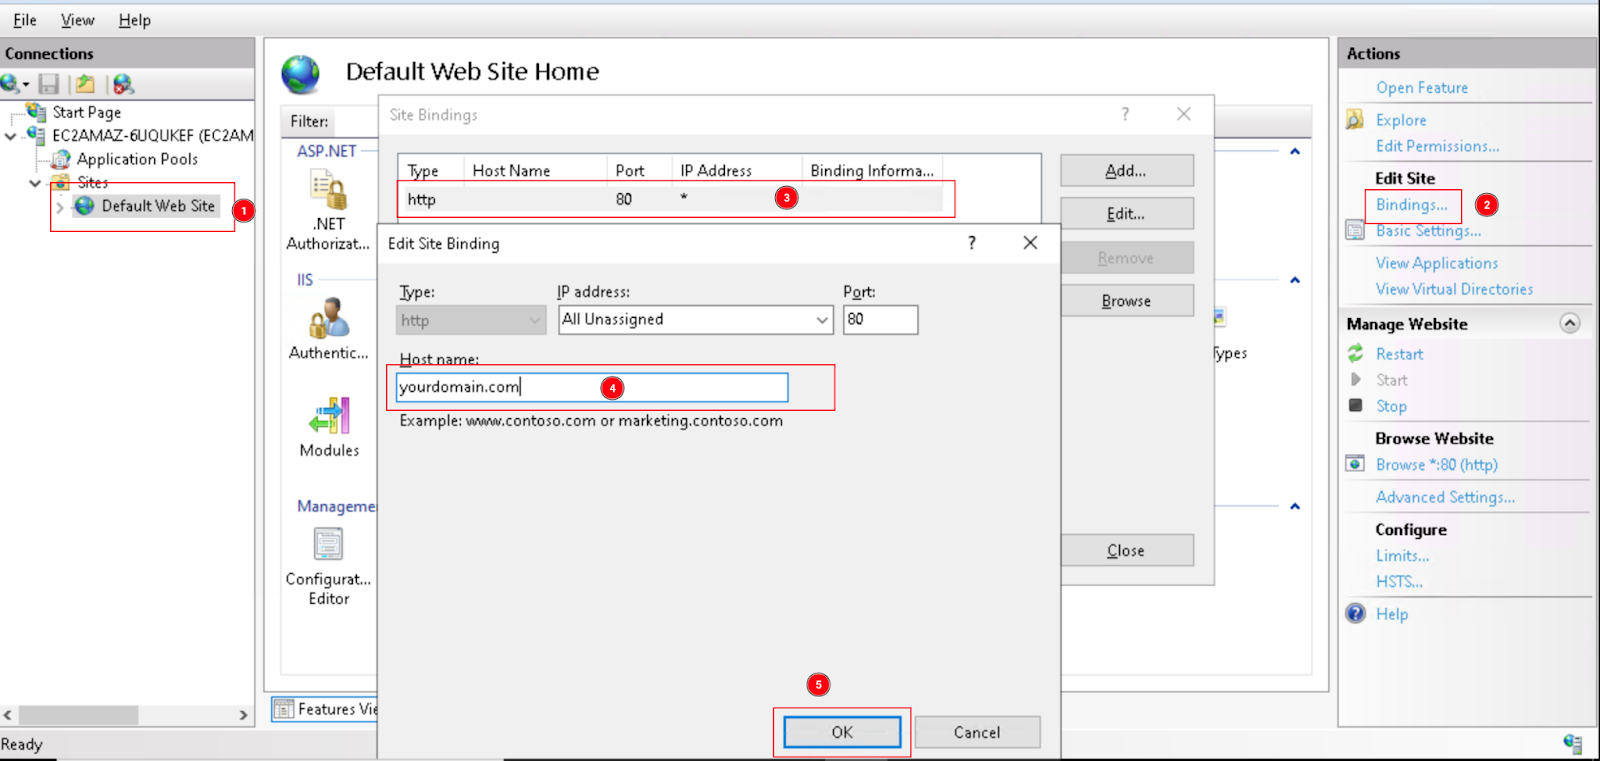
Open IIS Manager and in the left panel, Explore till you find
Default Web Site, select it. -
Then in the right panel, you will see the
Bindingsoption click on it, a new window will open select HTTP and edit the hostname to your concerned Domain as shown below:
- After adding the Bindings we need to edit the
host file, which will present be at this location.
C:\Windows\System32\drivers\etc
- Add the below line by replacing the ‘yourdomain’ with the domain that we used in the above step.
127.0.0.1 yourdomain
- Now you can open the browser and enter the IP or Domain Name to open Faveo.
Disable WebDav (Optional)
To test the successful configuration perform some delete operations in Faveo if the Delete operation fails then the above steps are not sufficient at this point you may need to remove WebDav:
- Go to
Control Panel > Uninstall Program > Turn Windows features on or off > IIS > World Wide Web Services > Common HTTP feature > WebDAV Publishing.
12. Set Cron & Configure Queue Driver
- To open Task scheduler press
Win+Rand typetaskschd.msc. - On the Right pane of the Task scheduler select
Create Basic Taskenter aNamefor the task and clickNext.

-
Under
Task Trigger, section selectDailyand clickNextand leave the default values inDailysection tick theSynchronize across time zonesand proceedNext. -
Now under the
Actionsection selectStart a programand clickNext. - In
Start a programcopy the below value into theprogram/script field.C:\Windows\System32\cmd.exe -
Add the following highlighted values to the Argument :
- This is for faveo incoming mail, esacalation, faveo update check.
/c php "c:\inetpub\wwwroot\artisan" schedule:run

-
Finally under the
Finishsection select thecheckboxto open the properties window after finish and click theFinishbutton. -
In the properties window, select the
Triggerstab, click onEditand select the checkbox forRepeat task everyset values to run every5 minutes, for a duration ofindefinitelyand click onOK.

- Similarly add two more triggers
At log on&At startup up, set values to run every5 minutes, for a duration ofindefinitelyand click onOK.

Queue Drivers
A queue driver is the handler for managing how to run a queued job, identifying whether the jobs succeeded or failed, and trying the job again if configured to do so. There are different queue lists are available to be used by the system:
- Sync (Activated by default)
- Database (this will use the database used by the application to act as a queue)
-
Redis
-
Sync, or synchronous, is the default queue driver which runs a queued job within your existing process. With this driver enabled, you effectively have no queue as the queued job runs immediately. When a small number of incoming and outgoing mail functionalities are operated by the system, this sync method can be used.
- Database driver stores queued jobs in the database. In Database queue multiple users need to work on a pool of records in a queue to process them. The records in the queue are in an unprocessed state. After the user worked on any record, that record is in completed state and is removed from the queue.
- Database Queue option lets the emails queue to execute using First in First out (FIFO) method and sends emails to the clients one by one.
-
In Database, Read and Write operations are slow because of storing data in secondary memory.
- Redis is an open-source (BSD licensed), in-memory data structure store, used as a database, cache and message broker. This will improve system performance and is highly recommended.
-
In Redis, Read and Write operations are extremely fast because of storing data in primary memory.
- Redis Installation documentation
Note: Database queue driver must be used only in windows server. C Panel or Linux users should not use database as queue driver.
13. Install Meilisearch
MeiliSearch is an open-source search engine developed in Rust that delivers flexible search and indexing capabilities. It adeptly handles typos, supports full-text search, synonyms, and comes packed with various features, making it an ideal choice for elevating search functionalities in Faveo.
Meilisearch installation documentation
14. SSL Installation
Secure Sockets Layer (SSL) is a standard security technology for establishing an encrypted link between a server and a client. Let’s Encrypt is a free, automated, and open certificate authority.
Faveo Requires HTTPS so the SSL is a must to work with the latest versions of faveo, so for the internal network and if there is no domain for free you can use the Self-Signed-SSL.
15. Install Faveo
Now you can install Faveo via GUI Wizard or CLI
16. Faveo Backup
At this stage, Faveo has been installed, it is time to setup the backup for Faveo File System and Database. Follow this article to setup Faveo backup.