Faveo Installation on CentOS Web Panel
This document will list on how to install Faveo Helpdesk on a new Centos Web Panel on Centos server.
Note: Need Centos 7 fresh server to Install Centos Web Panel(CWP).
1.Setup Hostname
To start the CWP installation, login into your server as root and make sure to set the correct hostname.
Important: The hostname and domain name must be different on your server (for example, if domain.com is your domain on your server, then use hostname.domain.com as your fully qualified hostname).
hostnamectl set-hostname hostname.domain.com
2. Installing CentOS Web Panel
yum -y update
yum -y install wget
cd /usr/local/src
wget https://github.com/ladybirdweb/faveo-server-images/blob/master/installation-scripts/helpdesk/cwp.sh
chmod +x cwp.sh
./cwp.sh
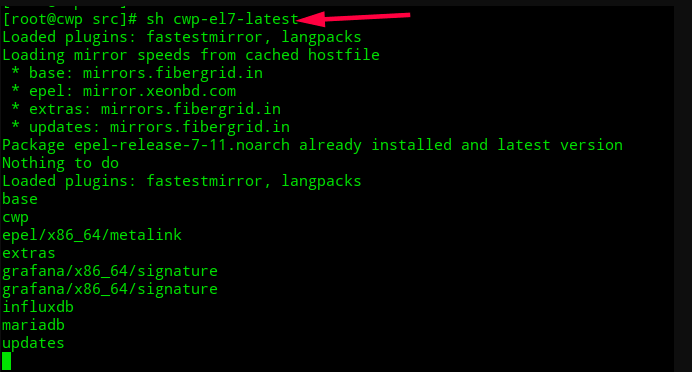
Please be patient as the installation progress can take between 10 and 20 minutes to complete. Once the install has finished you should see a screen saying “CWP” installed and list of credentials required to access the panel. Make sure to copy or write down the information and keep it safe:
Once ready, press “ENTER” for server reboot. If the system does not reboot automatically simply type “reboot” to reboot the server.
reboot
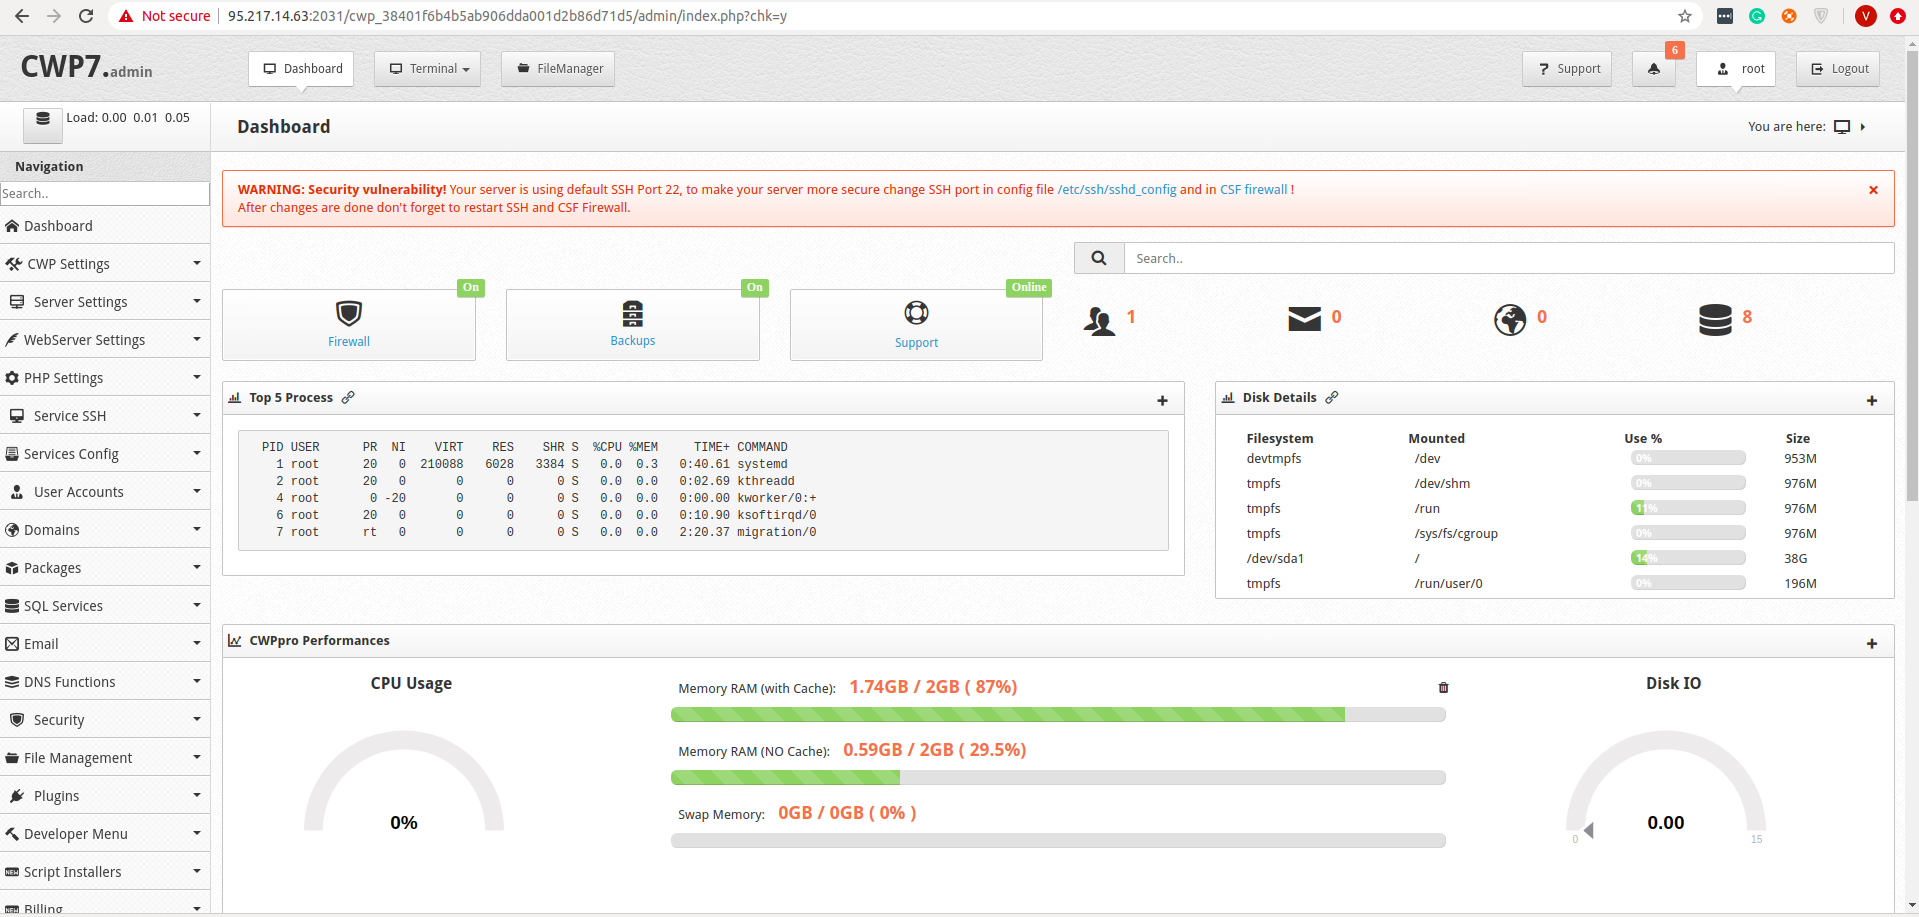
After server reboot, login into server as root, once login you will see different welcome screen with information about the logged users and the current disk space usage.
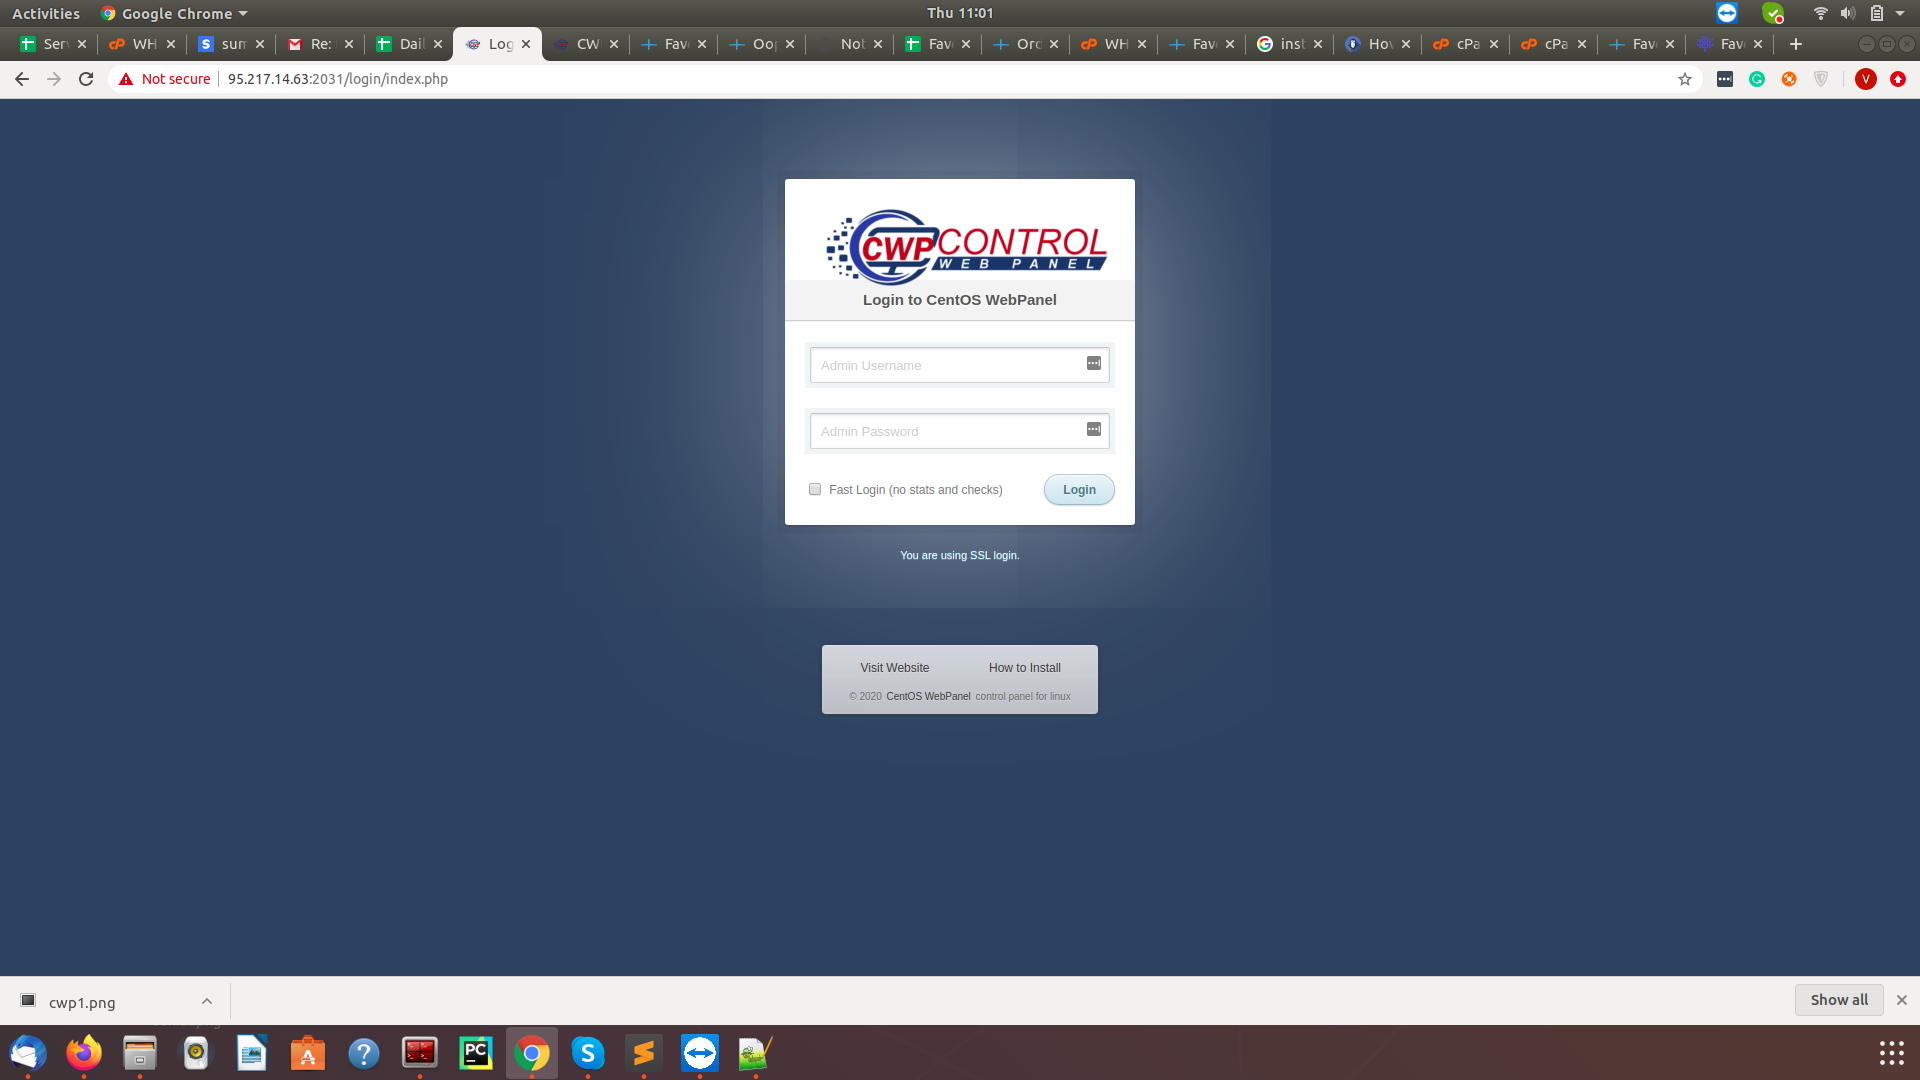
Now log in to your CentOS Web Panel server using the link provided by the installer on your server.
- CentOS Web Panel Admin GUI: https://SERVER-IP:2031/
- Username: root
- Password: your-os-root-password
3. Point domain to CentOS Web Panel server
As the Centos Web panel is now installed. You can host Faveo in this Centos Web Panel.
Note: You should have Domain pointing to this server.
4. Create user account on CentOS Web Panel
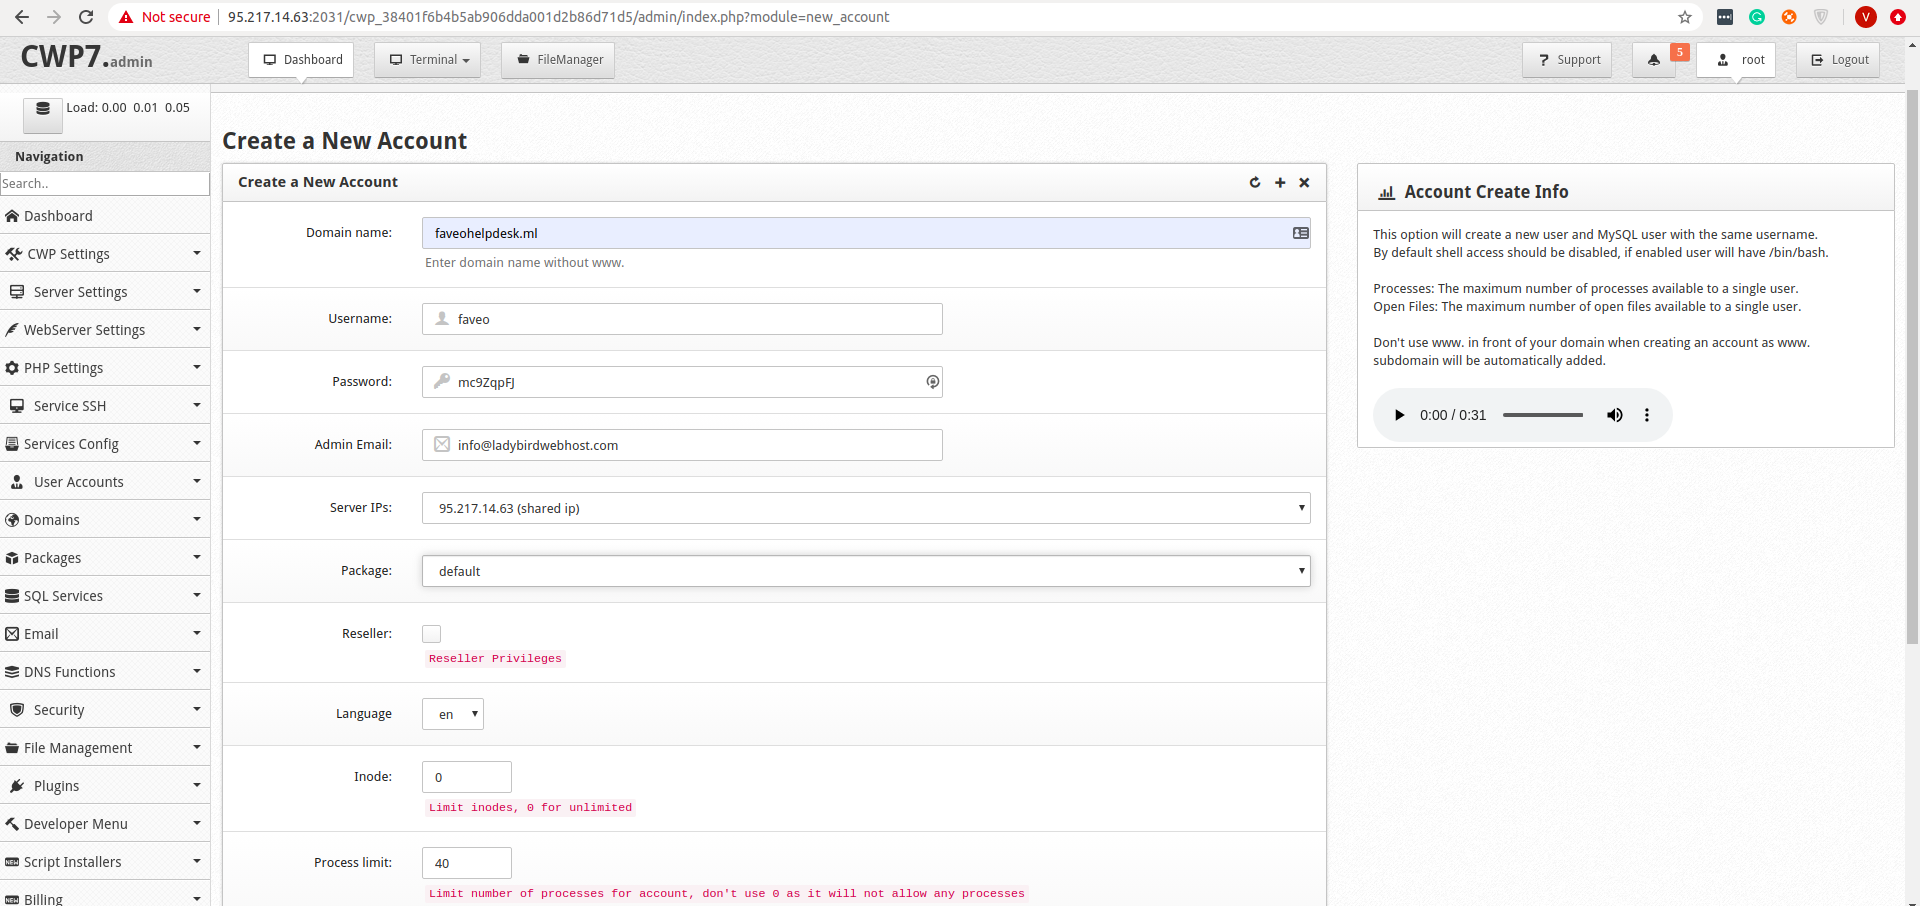
Create user account under User Accounts > New account. For creating a user account it is mandatory that you have a FQDN pointing to your server Public IP at this point.
Note: If your server sits behind a NAT network you have to enable the NAT-ed option in CWP settings. Usually if you setup your server on AWS or GCP they come with NAT network, so you have to enable NAT-ed in CWP settings.
Goto > CWP Settings > Edit Settings select proper Public IP and Private IP Scroll down and click on activate NAT-ed network configuration and don’t forget to Rebuild the Web server once this is enabled.
5. Change PHP version and install PHP extension
CWP by default PHP 5.6 will be installed. You can install different PHP versions and their extensions in the panel.
Faveo needs PHP 7.3,and some extensions.
PHP Settings > php version switcher > Select the desired PHP version i.e, 7.3.22 and enable the following plugins imap, ldap, ioncube, fpm, redis and click on save & build. This will take approximately 20 minutes once it is done you will recieve a notification on successfull build with a hyper link to apply the configuration click on it to configure the new PHP version and you confirm to the new version in the Home dashboard displaying the current PHP version.
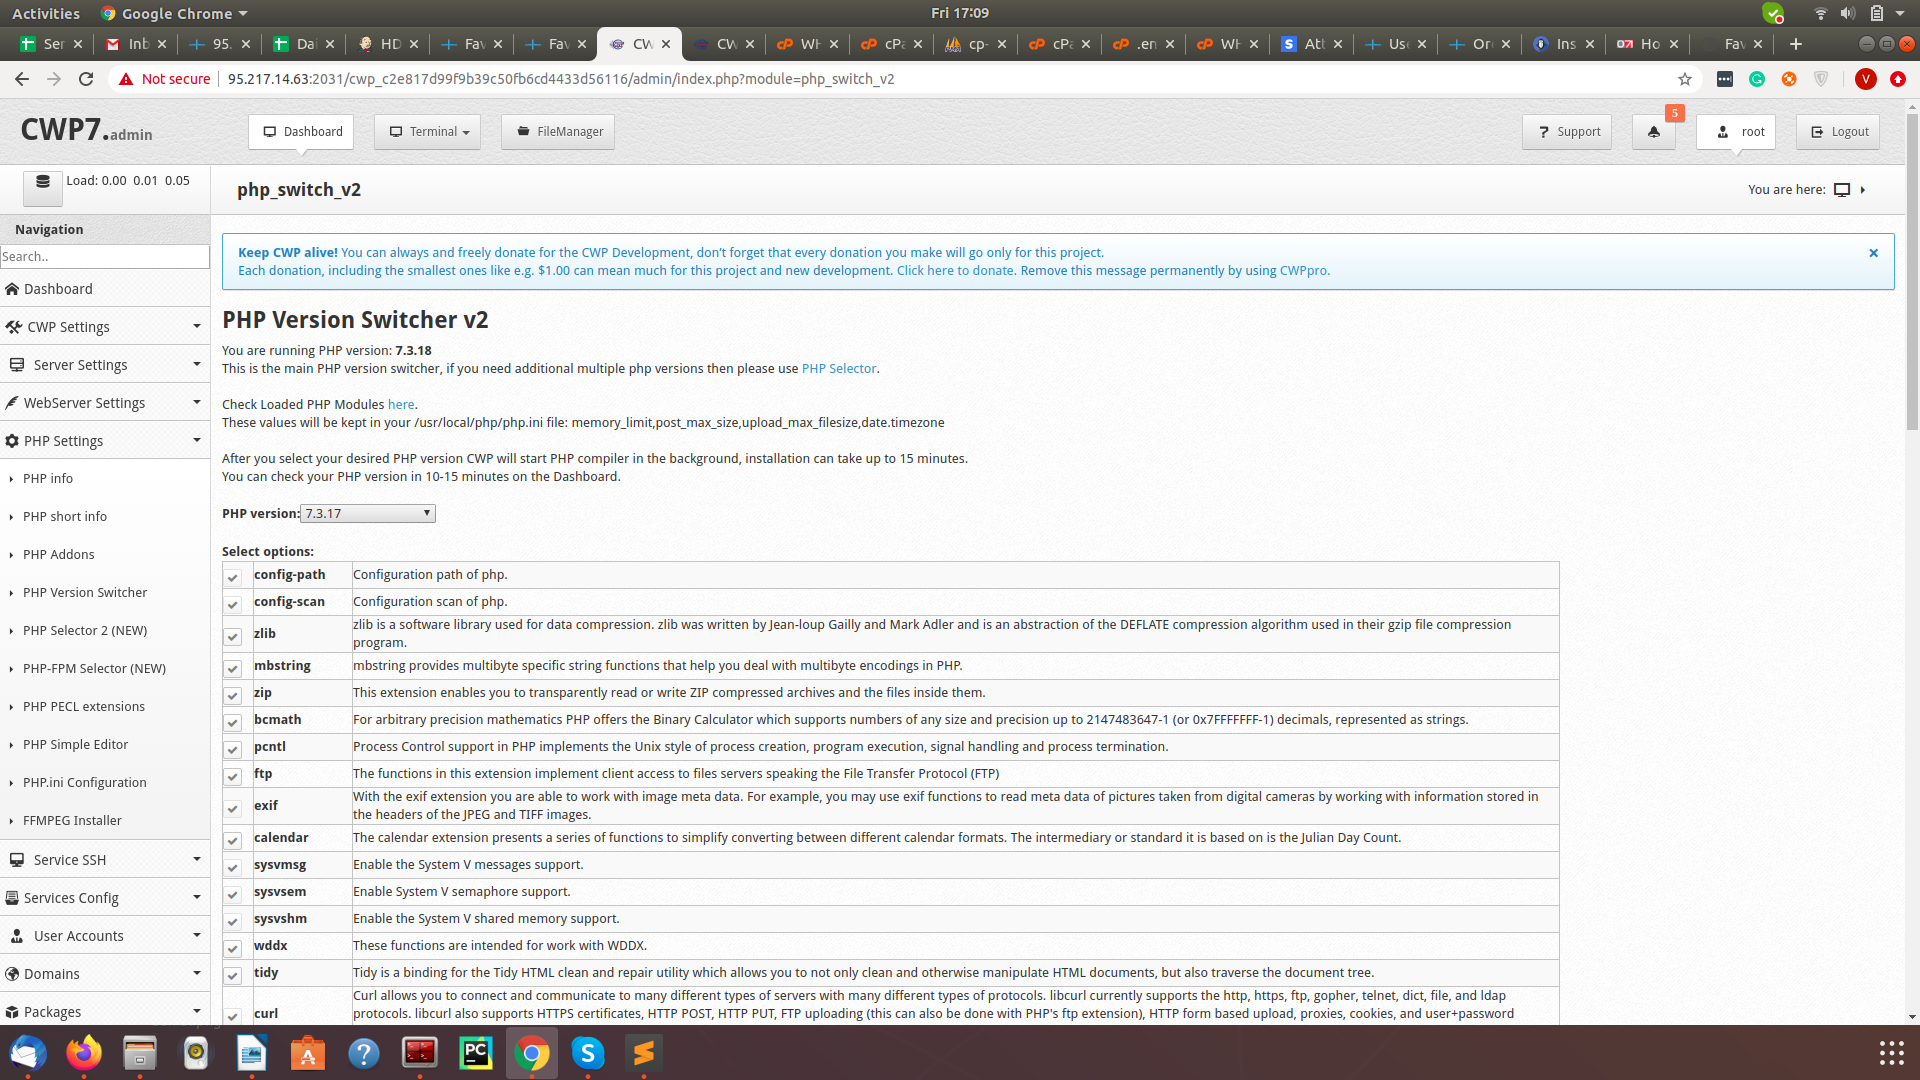
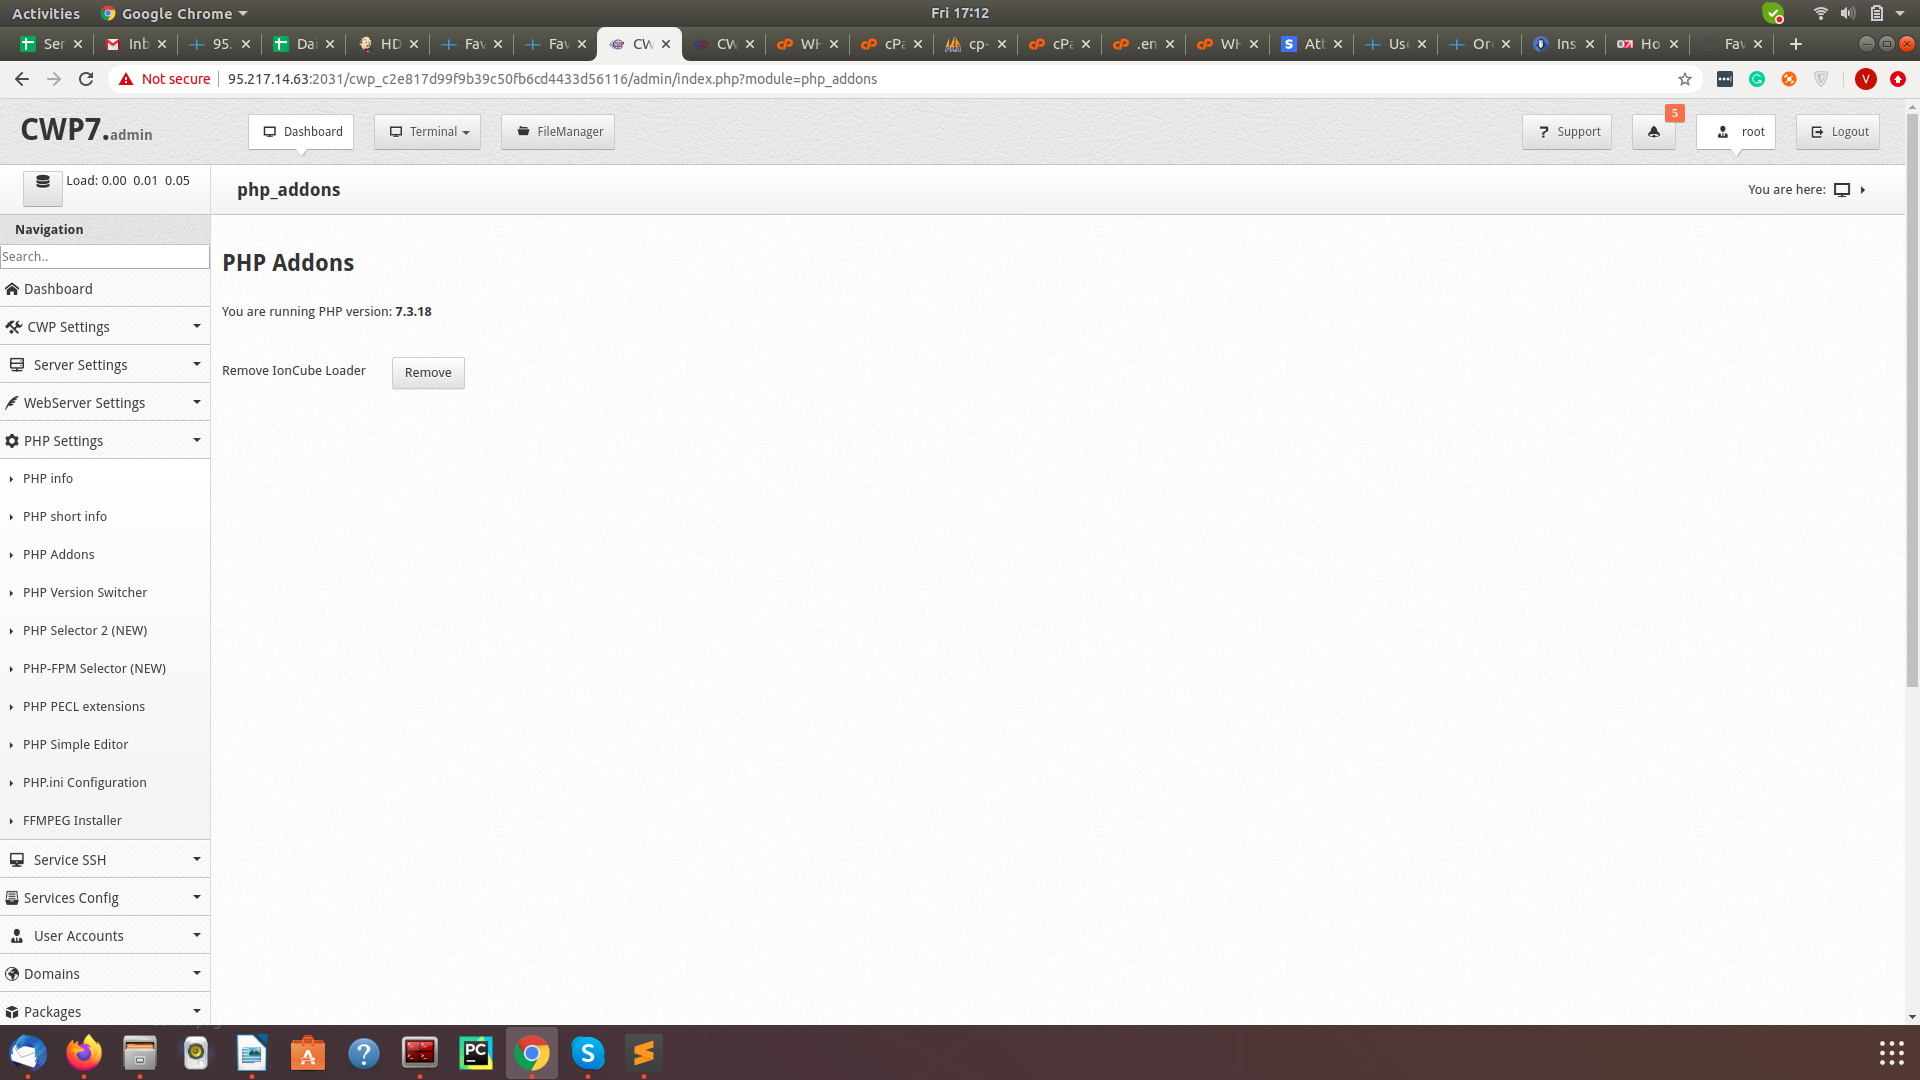
And ioncube loader must be installed to run Faveo. You can enable by using below options.
PHP Settings> php_addons
6. Database configuration
After Account created, You can login to user panel throigh the url https://SERVER-IP:2083/
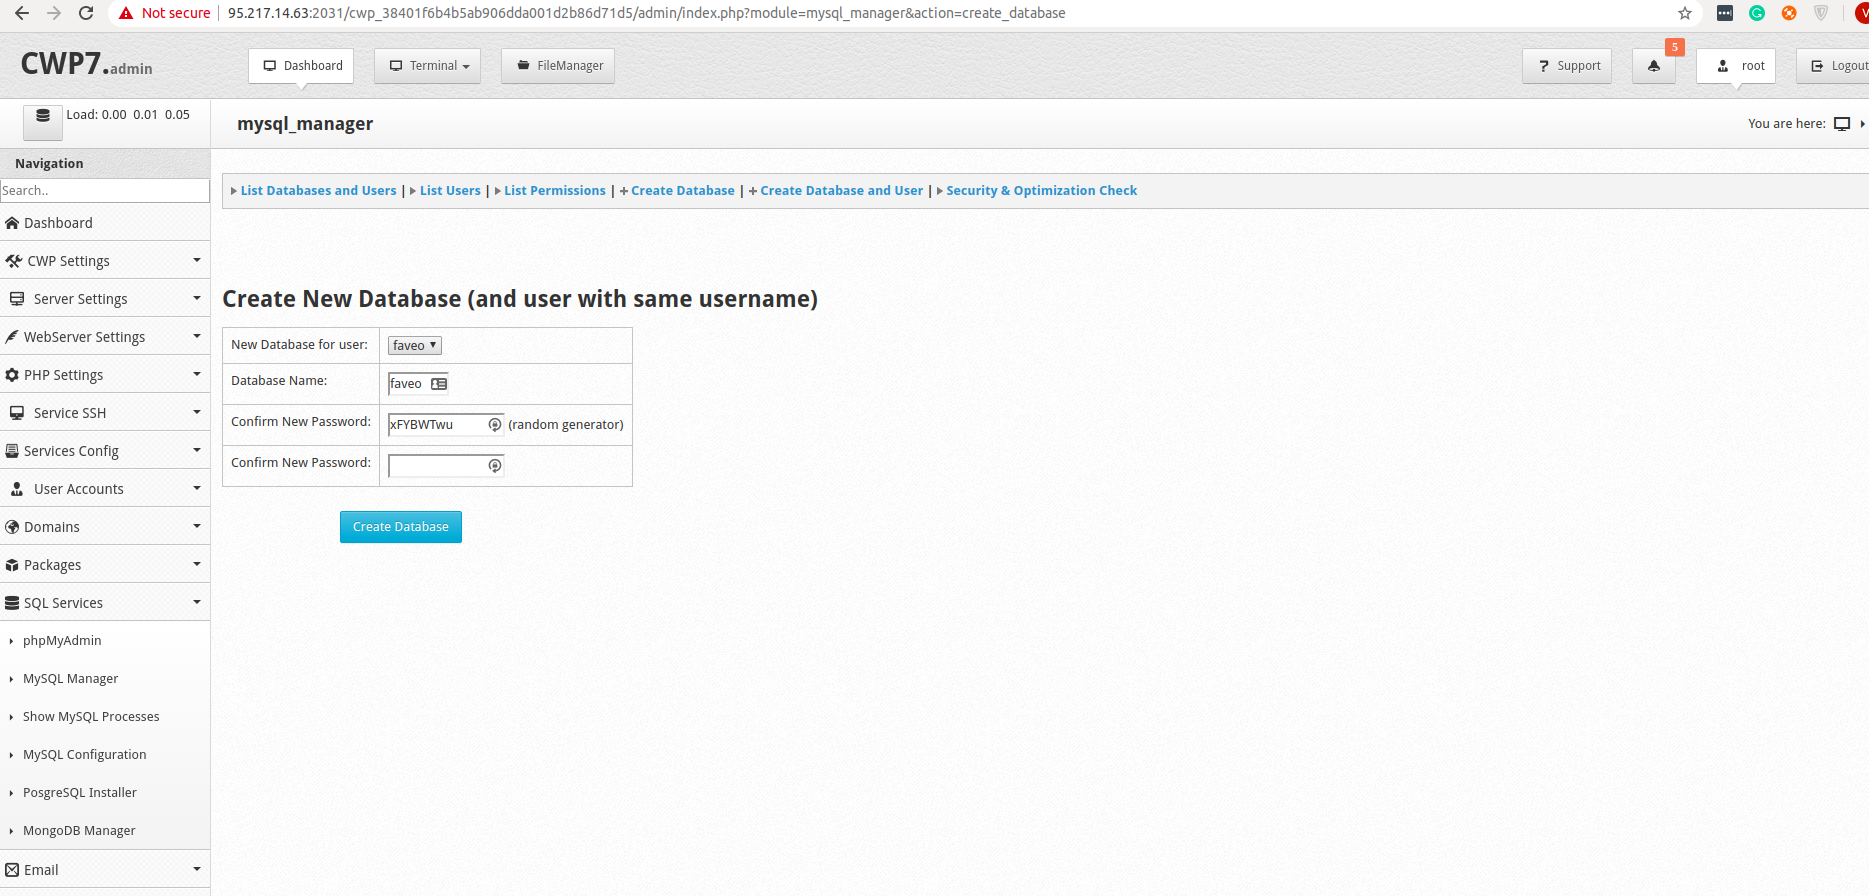
Faveo needs empty Database, Please create Database Name and User for Faveo.
SQL Services> Mysql Manager
7. Upload Faveo
Please download Faveo Helpdesk from https://billing.faveohelpdesk.com and upload it to the server
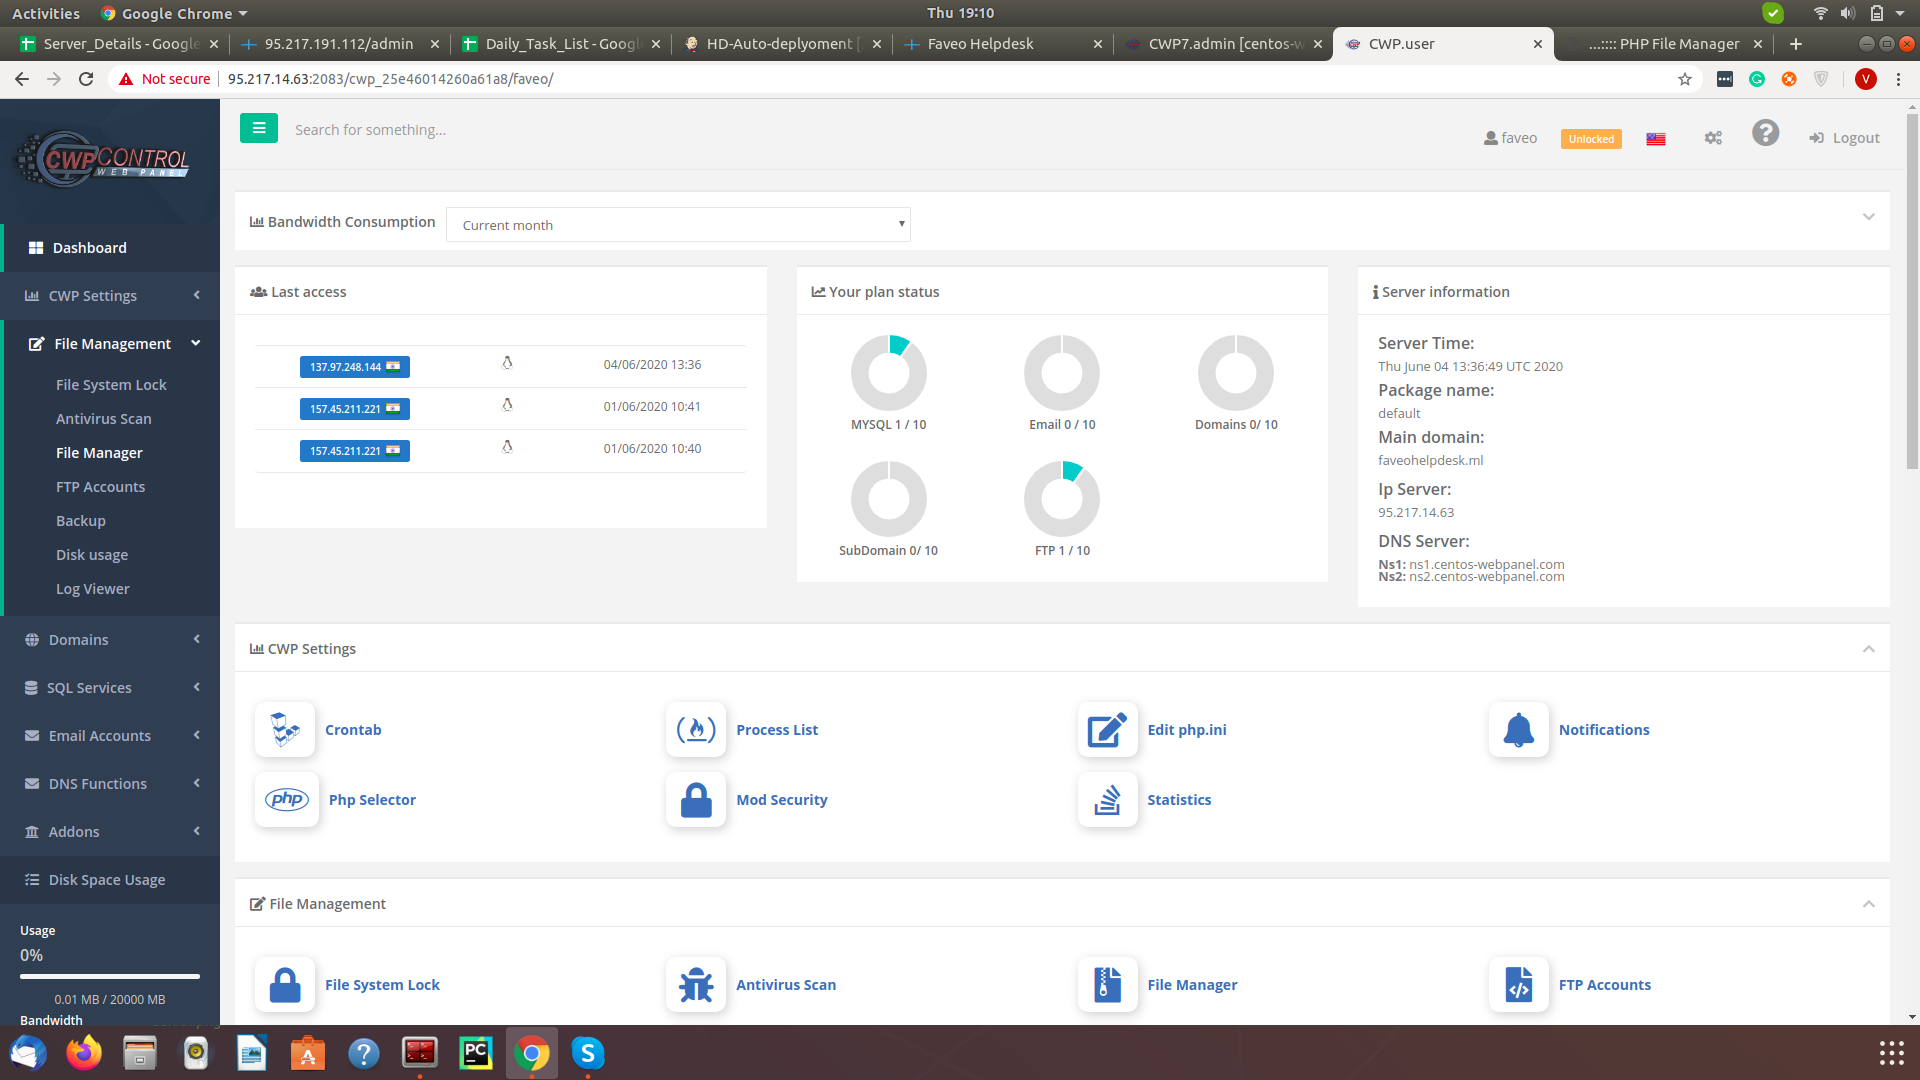
Click on File Management > File manager and upload Faveo files
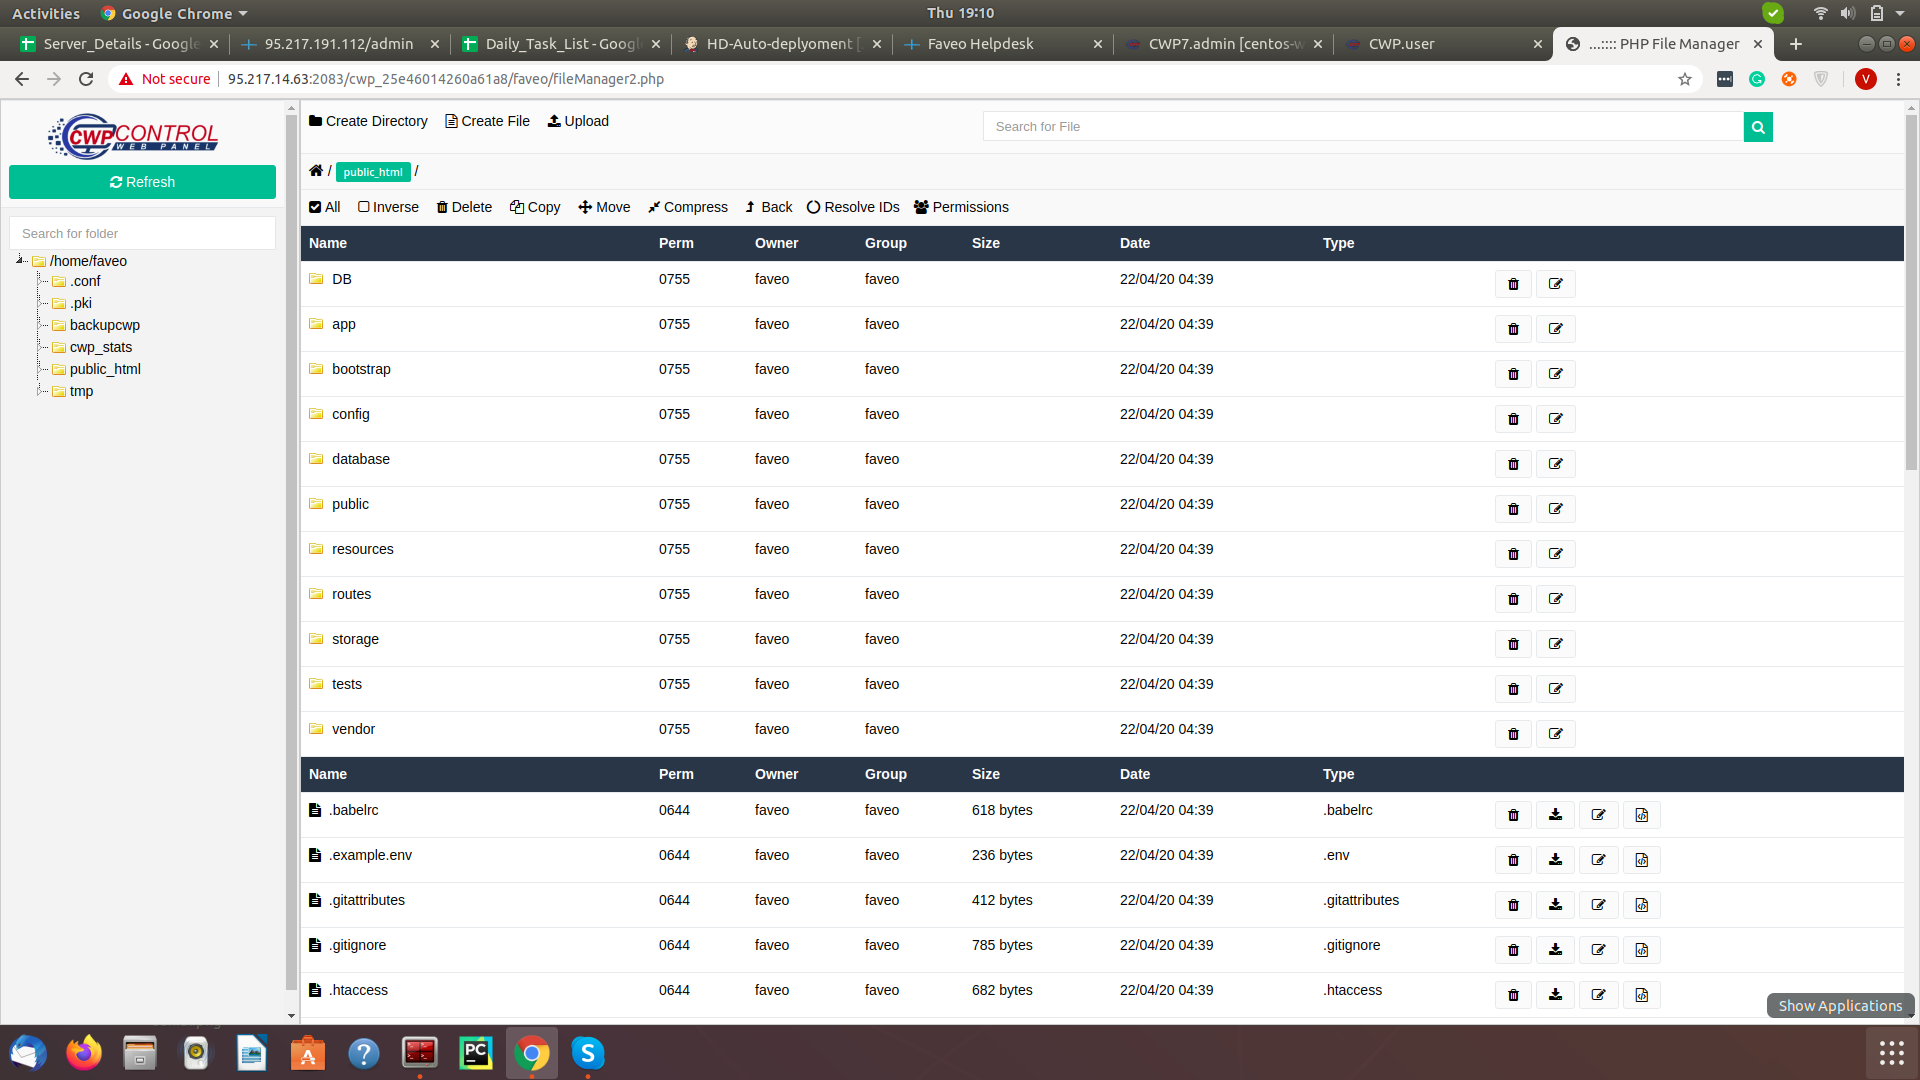
At this point you need to make some changes to public/.htaccess file inside the Faveo root directory. This is done beacuse CWP limits some HTTP Headers in its global configuration in order to bypass the global settings this step is necessary.
Just open the public/.htaccess to edit and append the below code in it and save the file. This can be done from the CWP Admin panel itself.
<Limit GET POST PUT OPTIONS DELETE PATCH HEAD>
    Require all granted
</Limit>
8. Install Faveo
Now you can install Faveo via GUI Wizard or CLI
9. Cron Job configuration
Please set cron for Faveo to fetch mails
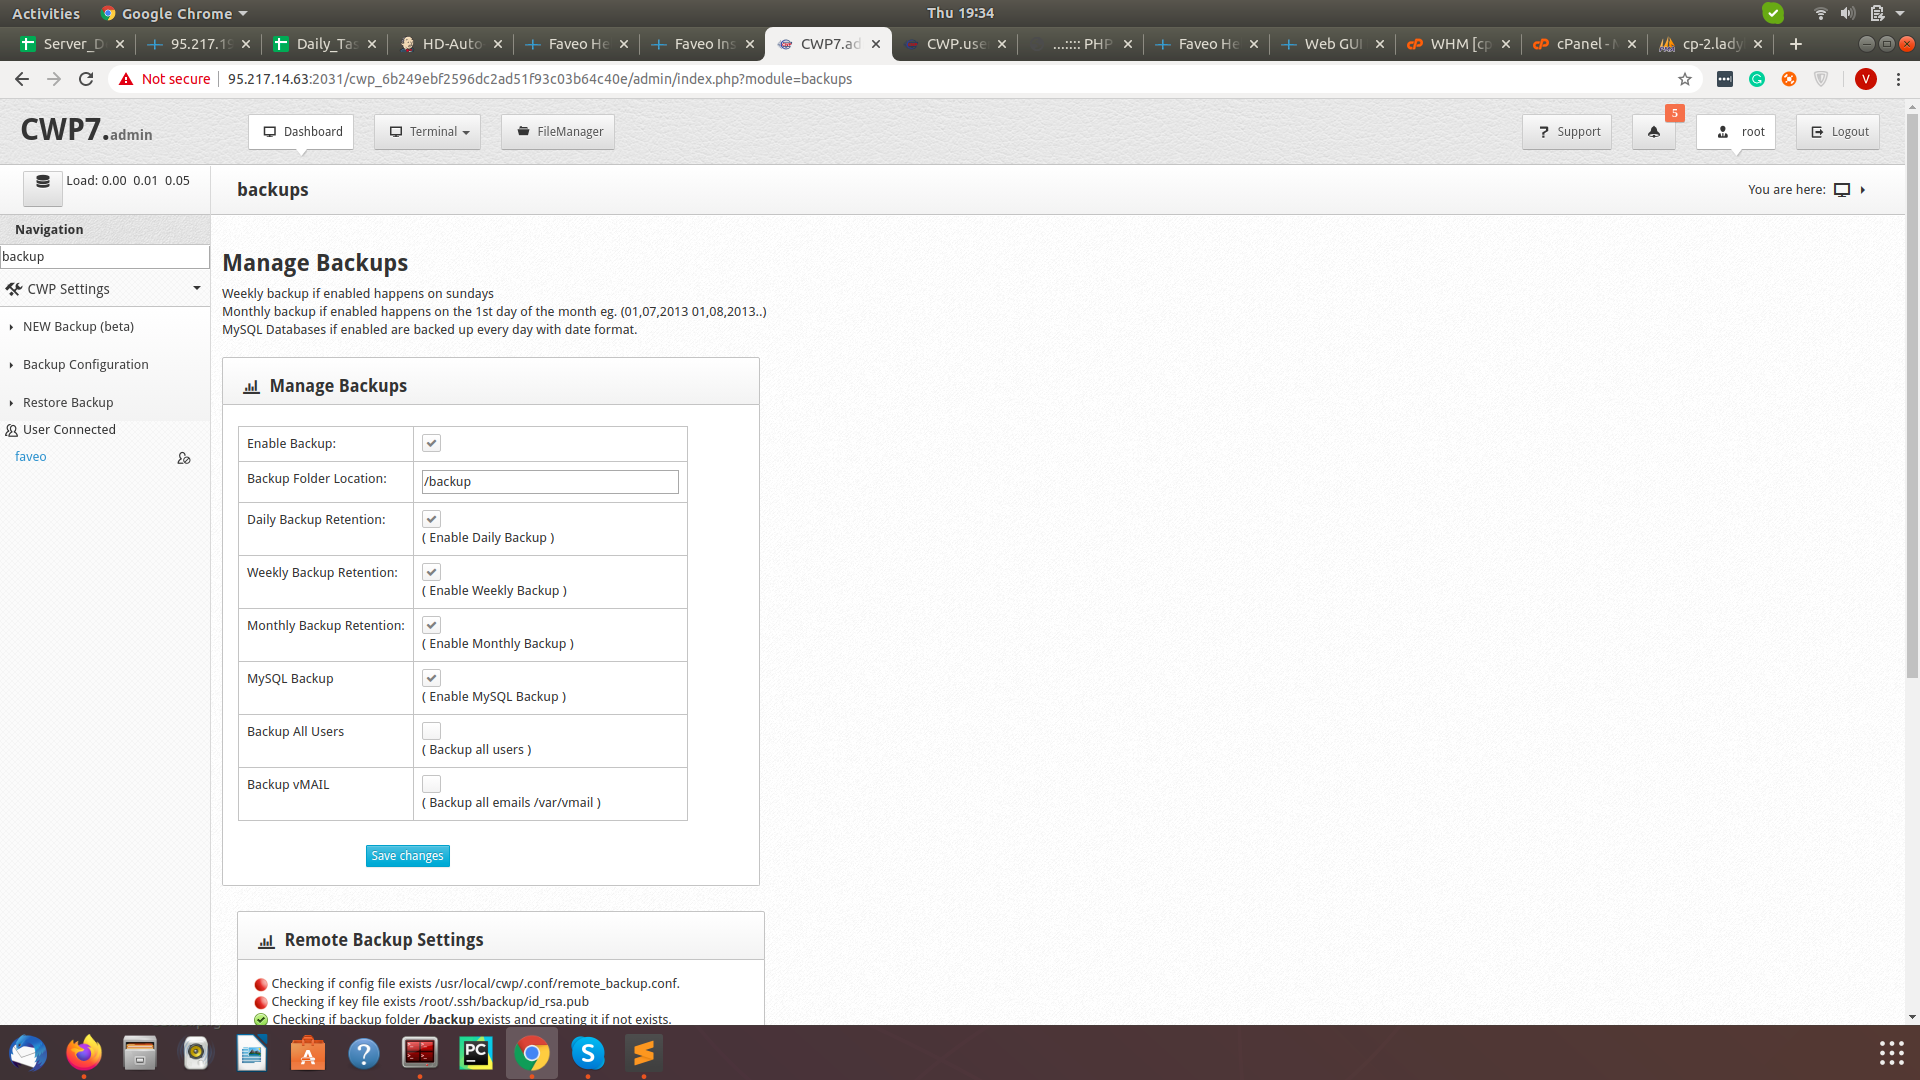
In Addition to that please Enable server Backup, Firewall and SSL Configuration.
10. Backup configuration
CWP settings > Backup configuration

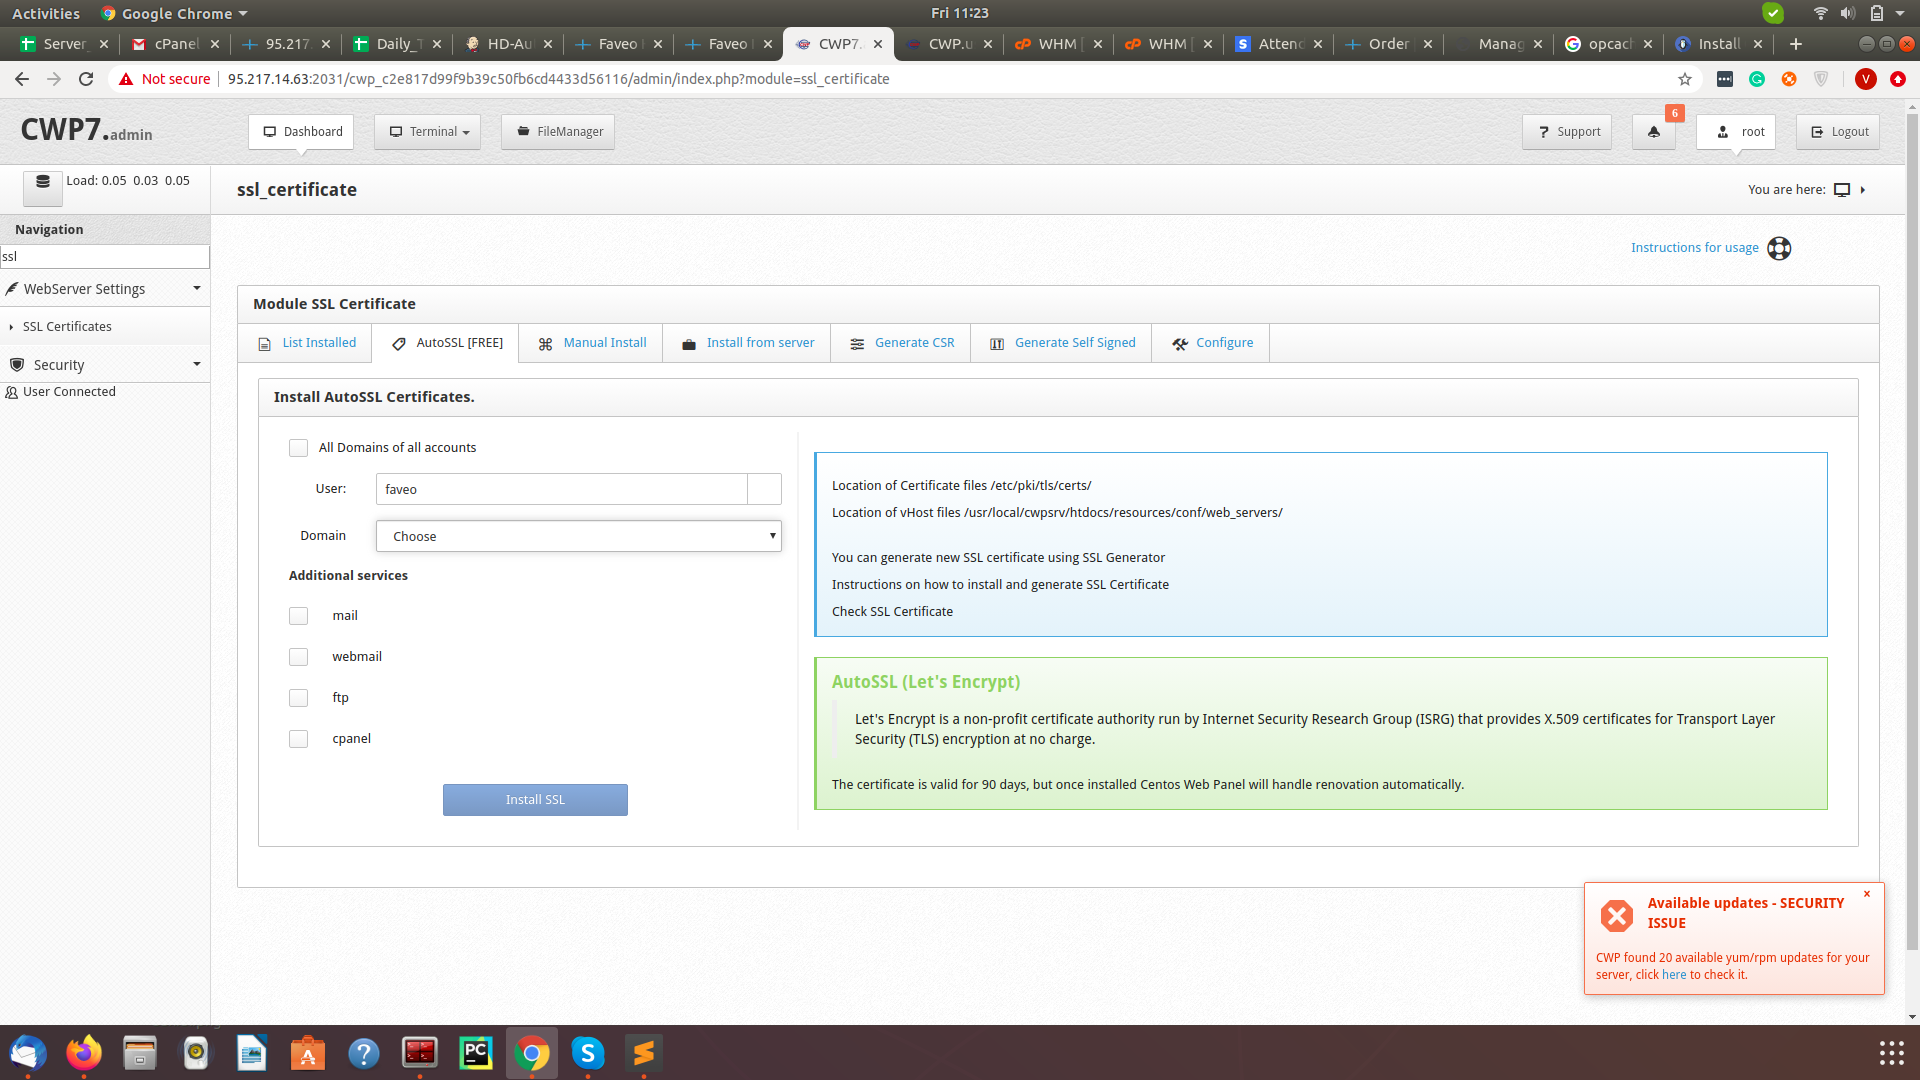
11. SSL Configuration.
Webserver Settings > SSL Certificates. CWP offers free SSL certificate via LetEncrypt plugin .We recommend you to go with that if you cannot afford a Paid SSL certificate.
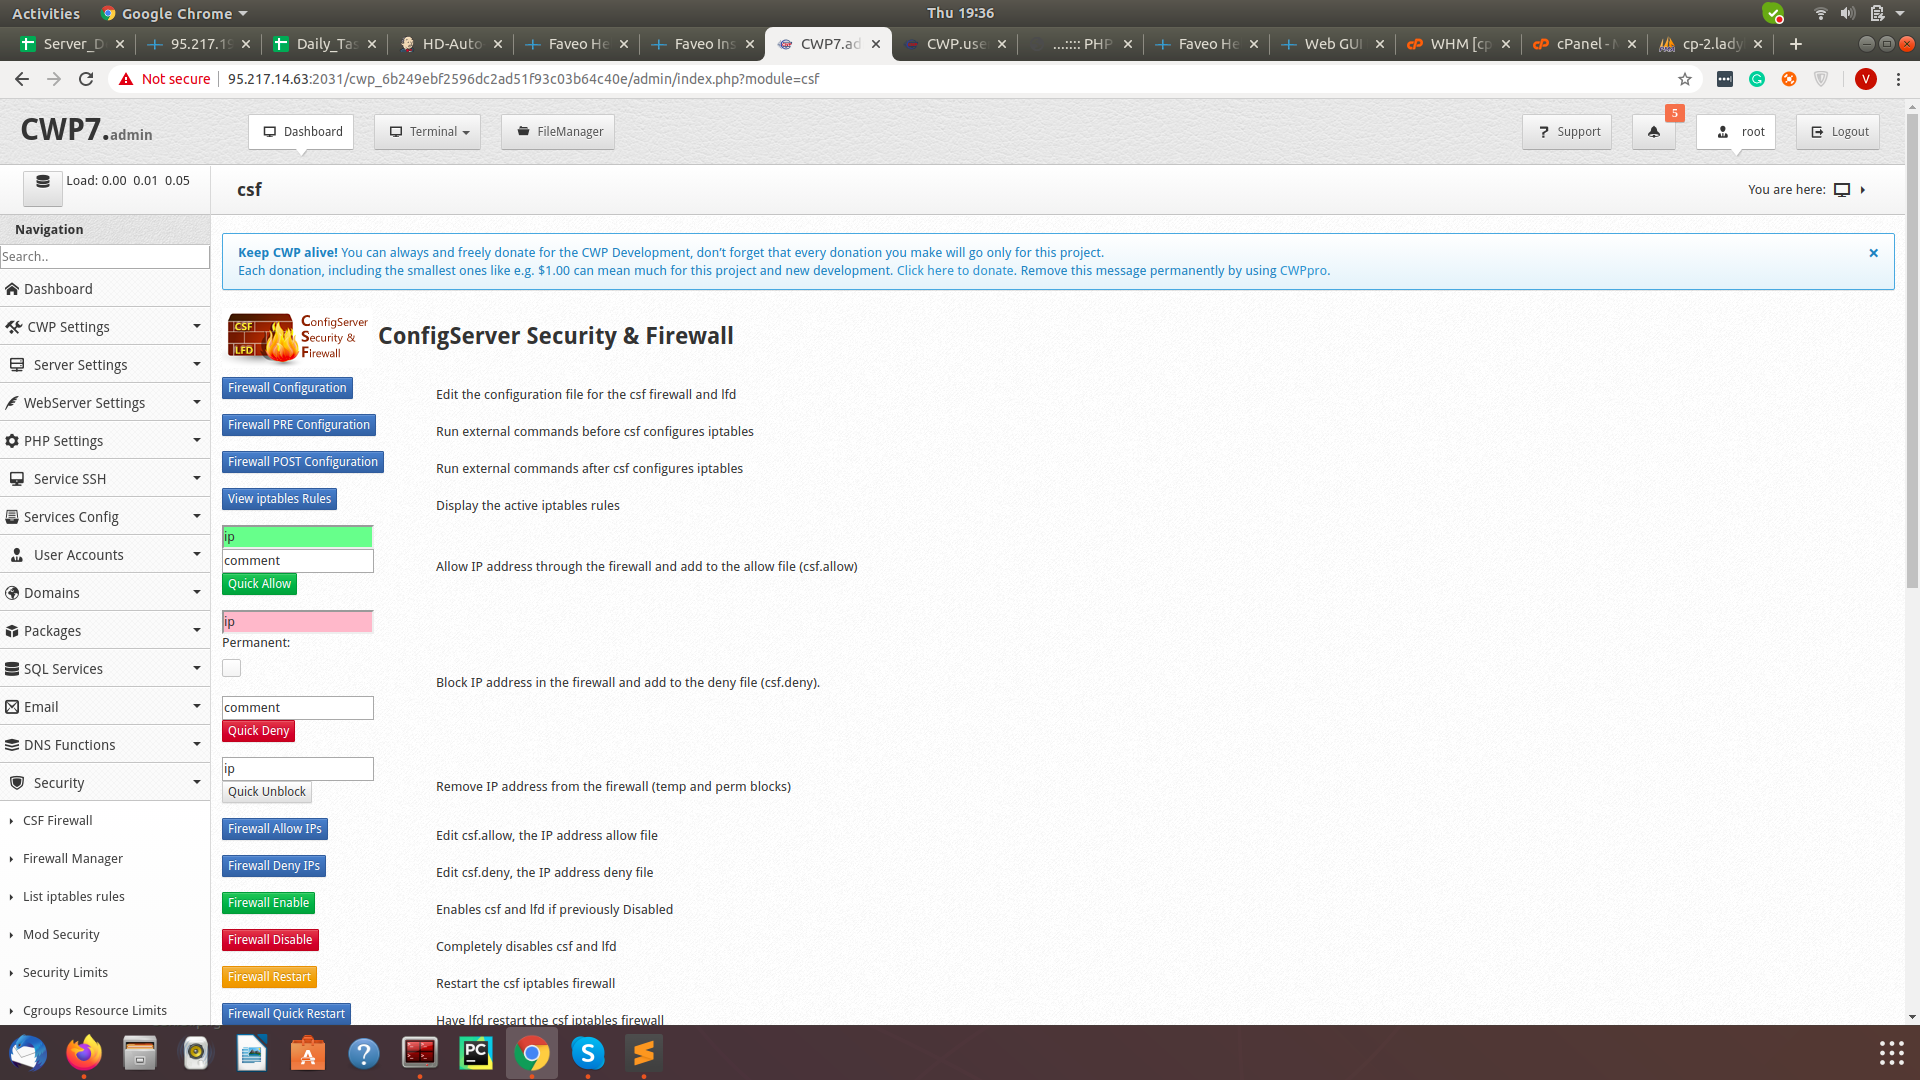
12. Firewall Configuration
Security > CSF firewall > Click on Enable firewall by default the CSF firewall is configured to allow only a certain sets of Ports, if you want some other ports to be opened or closed it can be done here.
13. Redis Installation
Redis is an open-source (BSD licensed), in-memory data structure store, used as a database, cache and message broker.
This is an optional step and will improve system performance and is highly recommended.